I make jewelry. And I have lots of jewelry that I have made. Which means, I don’t sell all of it. Because I really like having a lot of choices to add interest to my wardrobe. Which also means I need lots of places to store the pieces that I have. So, I created a board on Pinterest, to get ideas of things I might be able to make or use for storing and displaying my jewelry.
Follow Teresa Mucha’s board Jewelry Storage and Display on Pinterest.
I have seen a lot of storage using old frames. I thought that would be something that I could easily pull off. And I was right! With a little help from Keith, I was able to make a nice, stylish jewelry storage piece from a garage sale frame and supplies that I had on hand.
With an old frame that I picked up at a yard sale for fifty cents, some cup hooks, old screen and spray paint I made a place to store seventeen necklaces and up to sixteen (maybe even more) pair of earrings! And, I was able to get two matching frames, so I see another one being made in the near future.
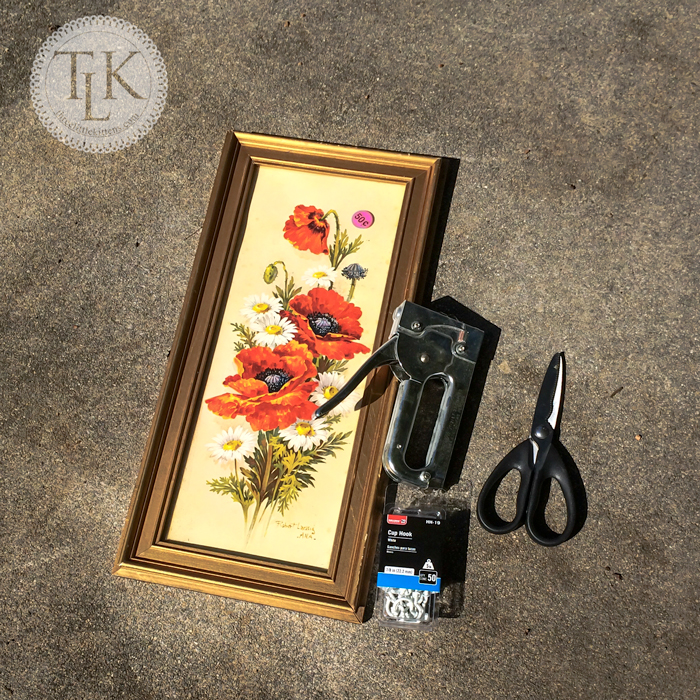
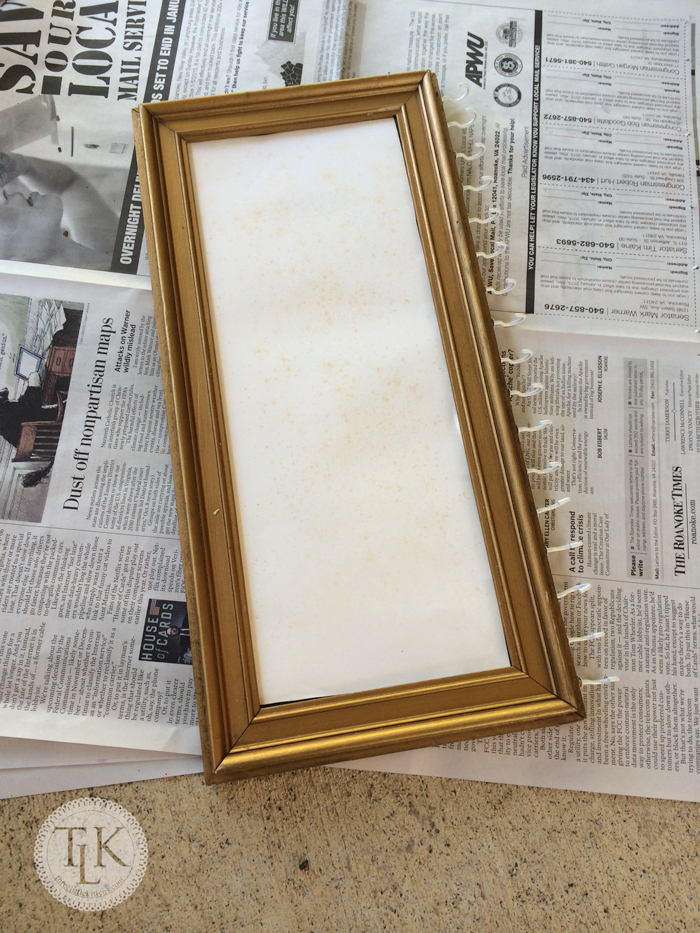
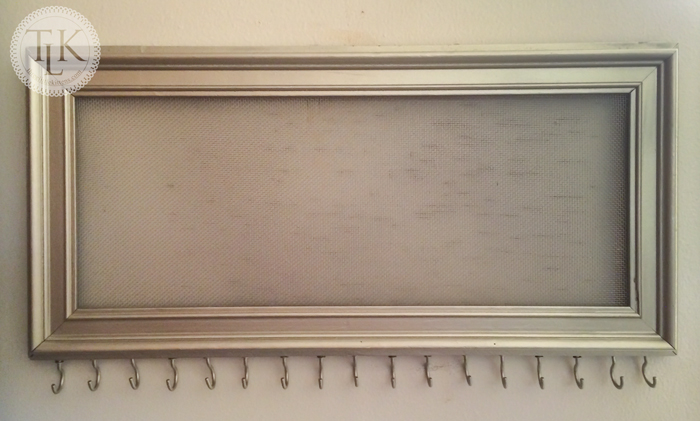
See, here is one of the frames that I was able to get. I like how it is long and skinny. So many of the storage frames I have seen are made using 8 x 10 or so sized frames and this size allows me to get maximum storage on necklaces across the bottom while giving me a place to also store the matching earrings. I usually have more necklaces than earrings, so necklace storage was top priority for me. But you can do this with any size frame based on what you need. I am just showing you what I used for my needs.
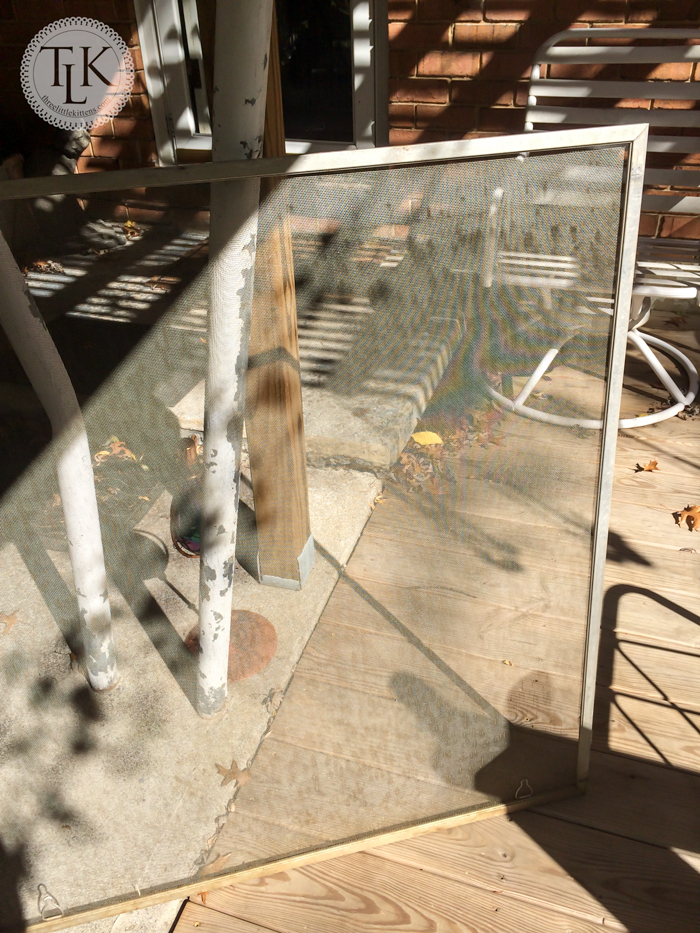
We had several old screens lying around, so Keith brought this one up and cleaned it really well for me. If you have old screen, use it first, rather than going out and buying a pack of new screen. You can also use chicken wire. We just happened to have old screen mesh, so that is what we used.
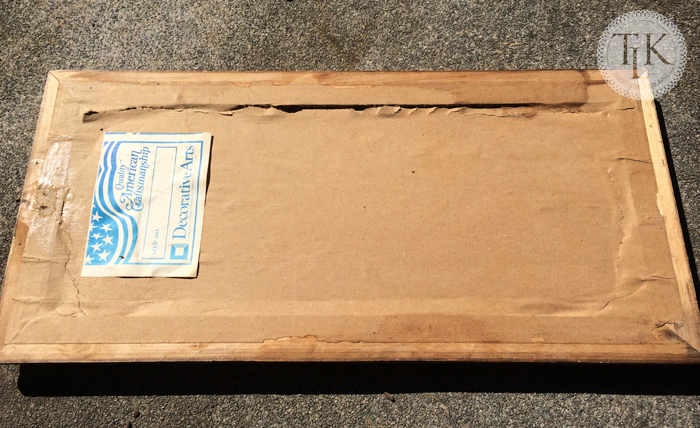
Start by removing any old backing and images from your frame. If you have a frame that came with an old image that is not worth saving, hang on to it for later in this project. You won’t need the glass. You can save that for another project or add to your glass recycling. My frames came with a hanger on the back, it was attached to the left side here in this image, but we took it off and saved it for reusing later.
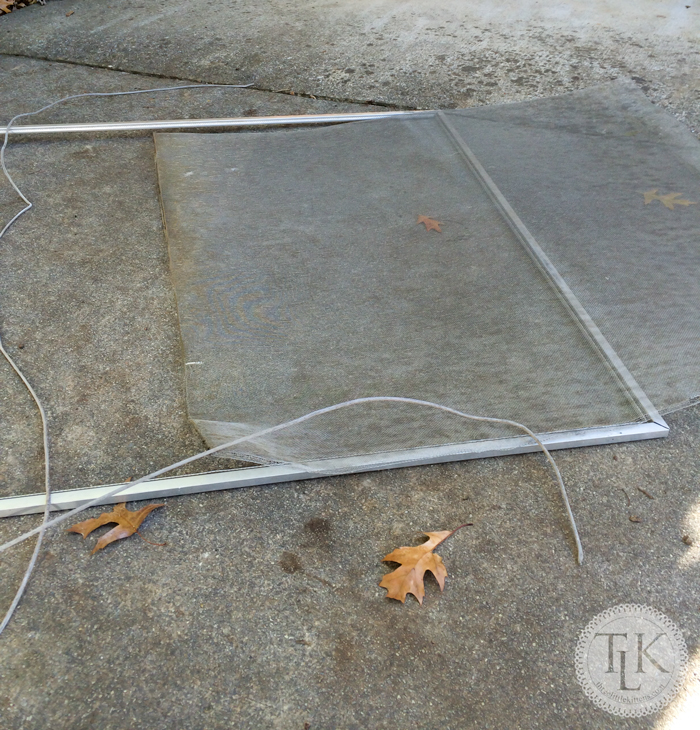
Next Keith removed the screen mesh from the frame. He saved the frame and I used the cording to tie up the roll of screen mesh after I cut out what I needed for this project. I have lots of screen mesh left for the next project and probably quite a few more.
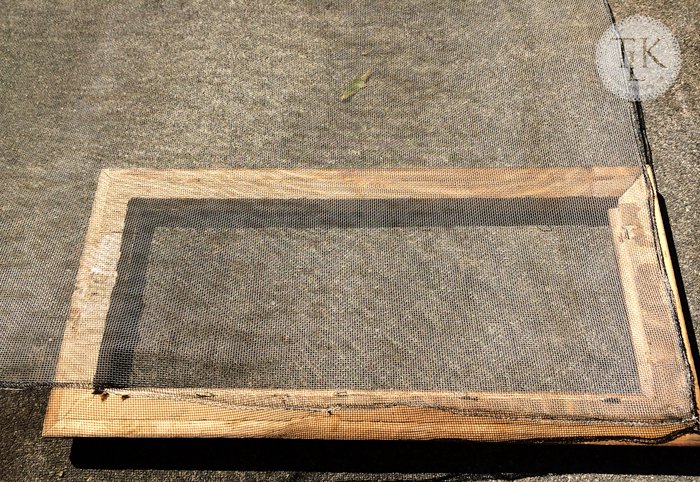
Lay out the screen mesh over the frame to get an idea of how much you will need to ensure your screen mesh is big enough for your project. I did not use a measuring tape, I just eye balled it.
Cut your screen mesh larger than your frame on the top and bottom sides, I cut my sides to be flush with the inside of the frame. I am going to staple the top and bottom sides since they will support the weight of the earrings. I left generous amounts of overflow, but you can cut your screen mesh smaller, just make sure you have enough to staple. You can trim any excess later. Oh, I just used some kitchen shears to cut the screen mesh. Do not use good fabric scissors to do this. Utility or craft scissors should be fine. Oh, and be careful when working with screen mesh. It can be rough and you can easily scratch or cut yourself on the rough edges if you are not careful. You may want to use gloves for this part, too.
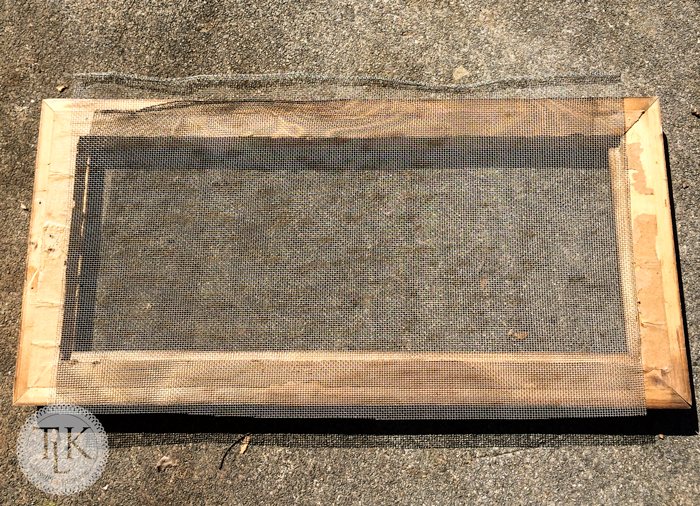
Bend your screen mesh to fit into the frame. Start on one side and then the other.

You want the screen mesh to be taught.
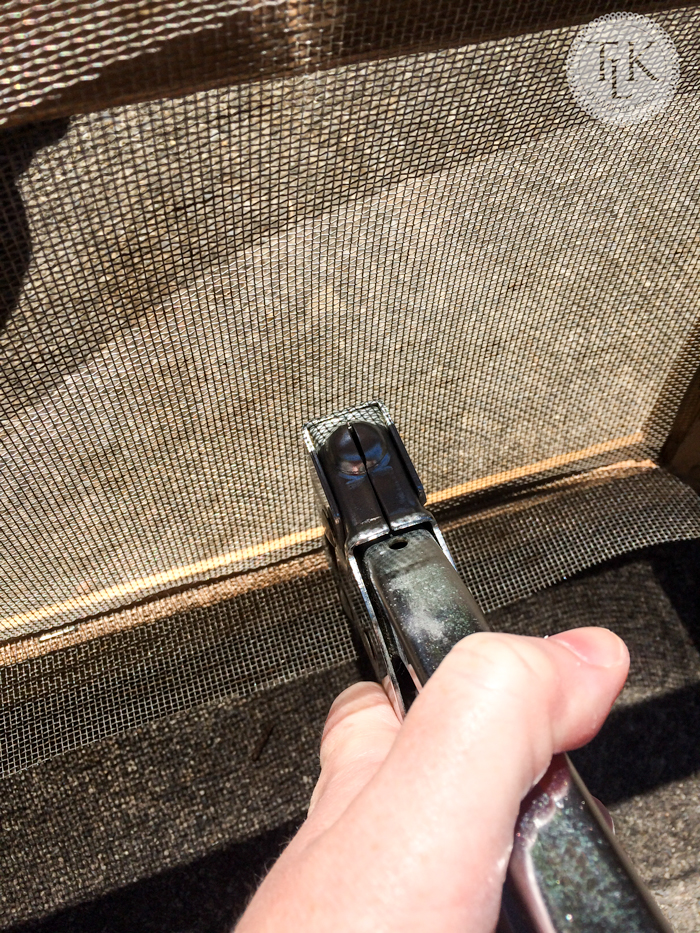
Then you want to start stapling your screen mesh into your frame. Note, you want to make sure that your staples are not thicker or deeper than the depth of the wood where you staple your mesh on the frame so that your staples do not come through on the front side.
Staple one side of the frame first, top or bottom, it will not matter which is done first.
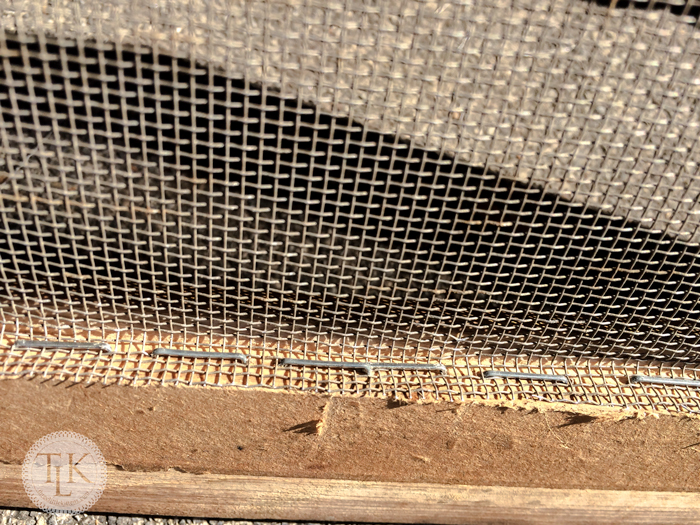
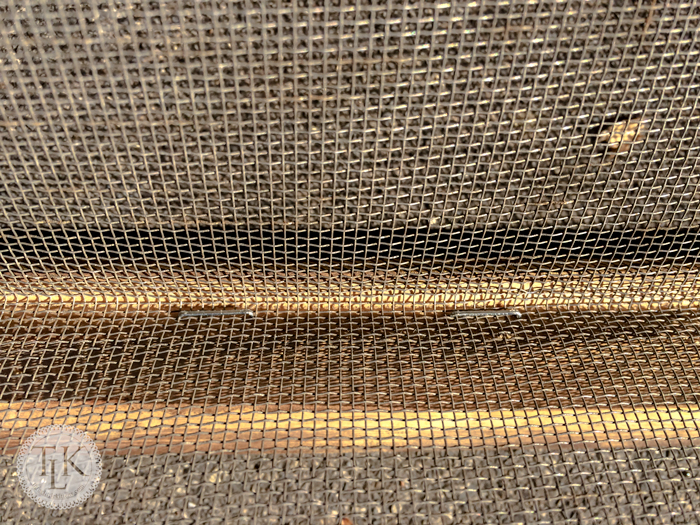
I put my staples close together along both the top and bottom to ensure my screen stayed taught and would be strong enough to support the weight of my earrings.
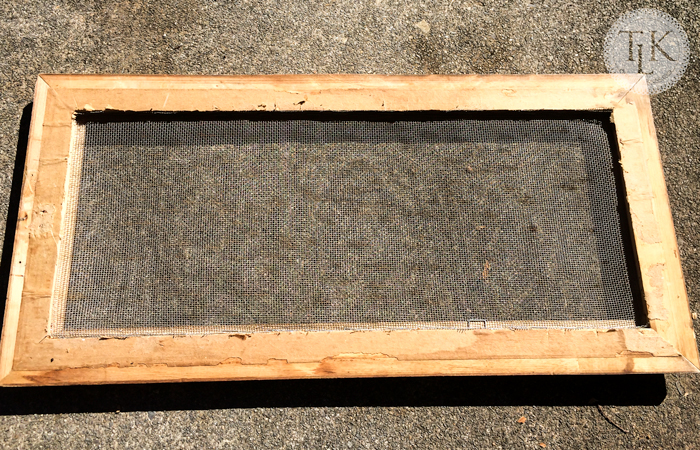
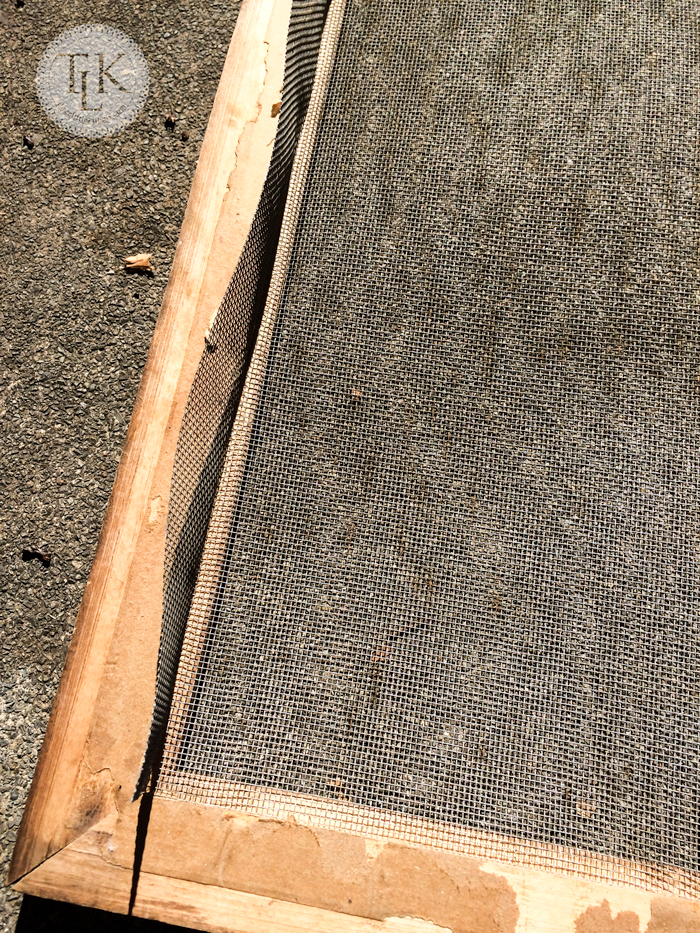
Trim the excess screen mesh from the top and bottom so that it is flush with the frame. You don’t want any hanging over, it could scratch the wall when you hang it.
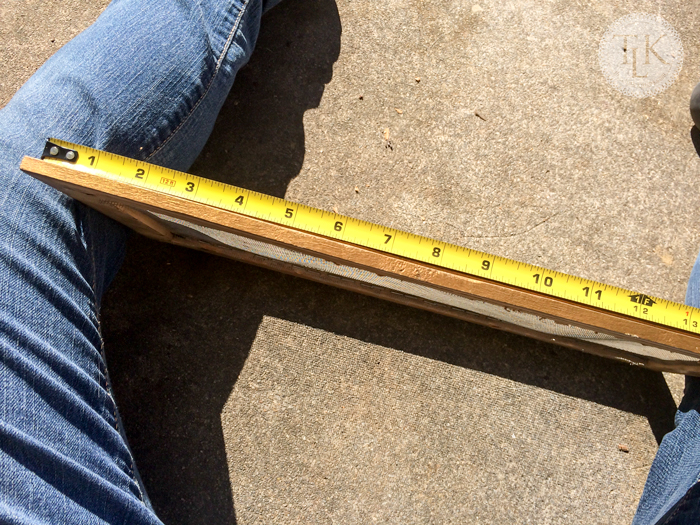
Next, determine which side will be your bottom and figure out how many cuphooks you want based on your width and needs. I decided I would space my cuphooks one inch apart and start a half inch in on each side.

Now you need to mark where you want your cuphooks. I chose not to eyeball this so I did bring out a tape measure to ensure I got my marks evenly spaced.

Use a tack or small nail to start a hole for each cuphook. Now if you look closely here, you will see I made my marks on one section of the frame and my holes on another. What happened was I actually made my marks on a thinner part of the wood trim of the frame. That’s okay, though. I realized what I did and just moved my holes to the thicker part of the wood so that when I screwed in my cuphooks they would not go through the trim on the front. That is important or you will have tips of the cuphook screws hanging out on the front side.
Now comes the fun part of screwing in the cuphooks. We had seventeen on this frame and I had to enlist Keith’s help. I just did not have the strength to get them started. He was a great helper and model for this picture.
Finally all of the cuphooks are in and it’s time to paint. Remember that saved image? It comes in handy in this step, you can use it to cover your screen mesh so that it doesn’t get all gunked up with paint.
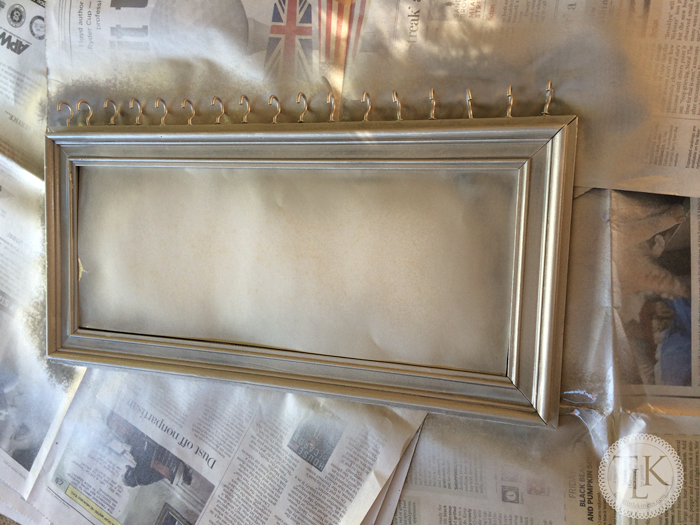
Now just add several light coats of spray paint. I had some nickel finish from previous projects in our Bathroom Remodel and I thought this would be a nice color for displaying jewelry. Any color would really work, just use what you have on hand. You don’t have to use spray paint, you can use brush on paint or milk paint or acrylic craft paint, just whatever you have on hand.

Don’t forget to paint the back of the cuphooks. You don’t have to paint the back of your frame, but I did want my cuphooks totally painted. And here you can also see we added the frame hook back, centered of course. And you can see the front side of the original print that was in this frame. It did a great job of protecting the screen mesh from paint blobs.
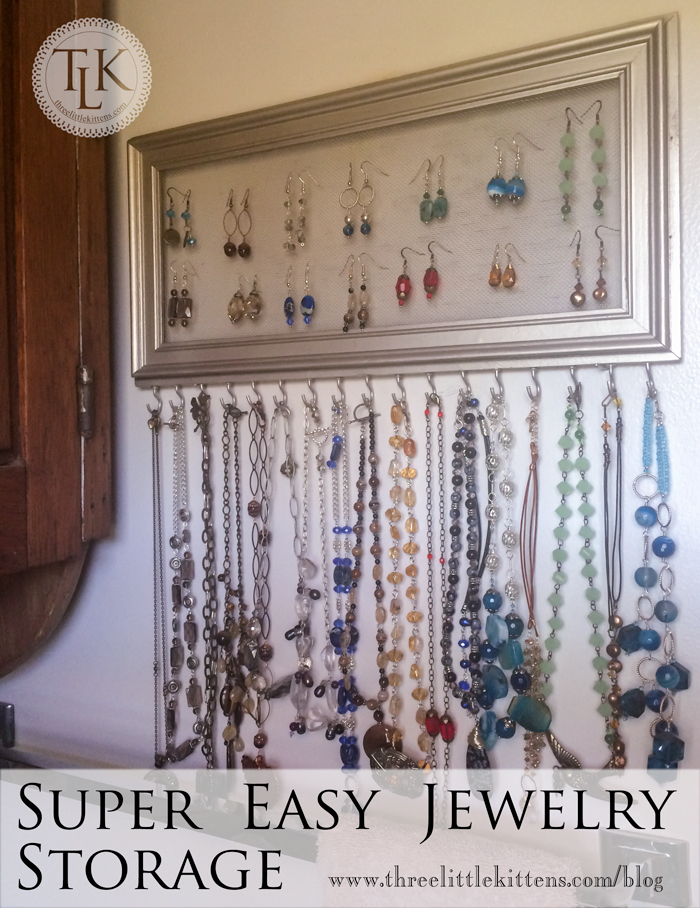
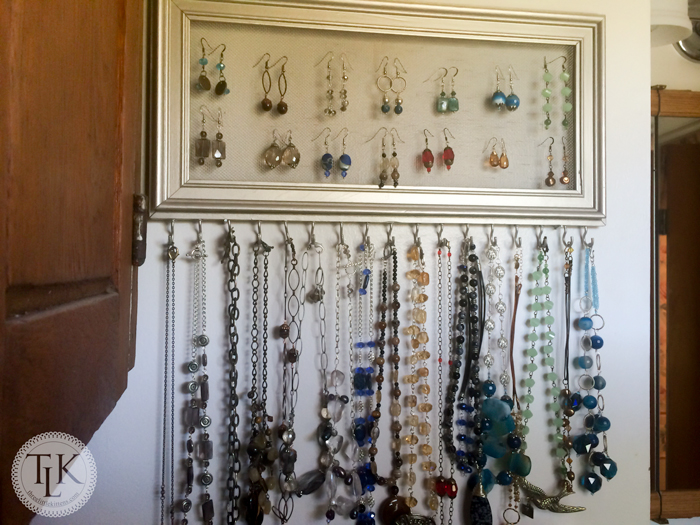
After the painted frame finished drying, we let it dry for several days just so we were sure it was all done, we hung it on the wall in my bathroom. This is a tiny room so these pictures were hard to get, but I think you will get the idea.
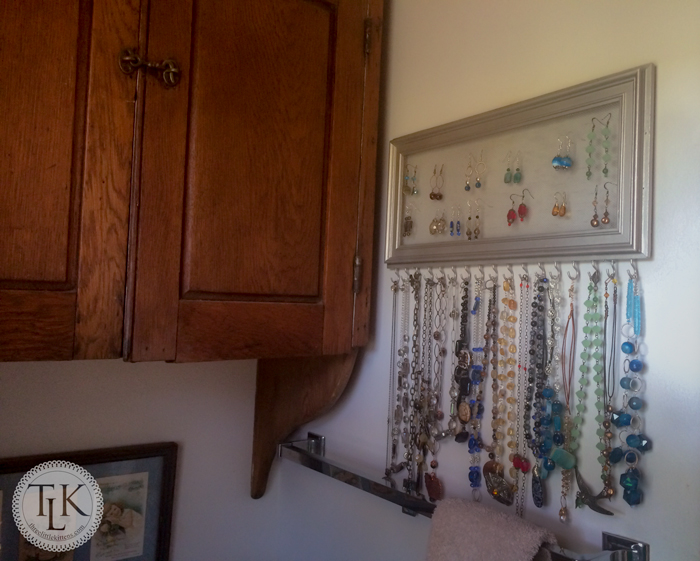
In fact the only wall I have where I can hang this is the one with the towel rack in this room. This is where I finish getting ready in the morning, so I really wanted to have some of my jewelry here close at hand.
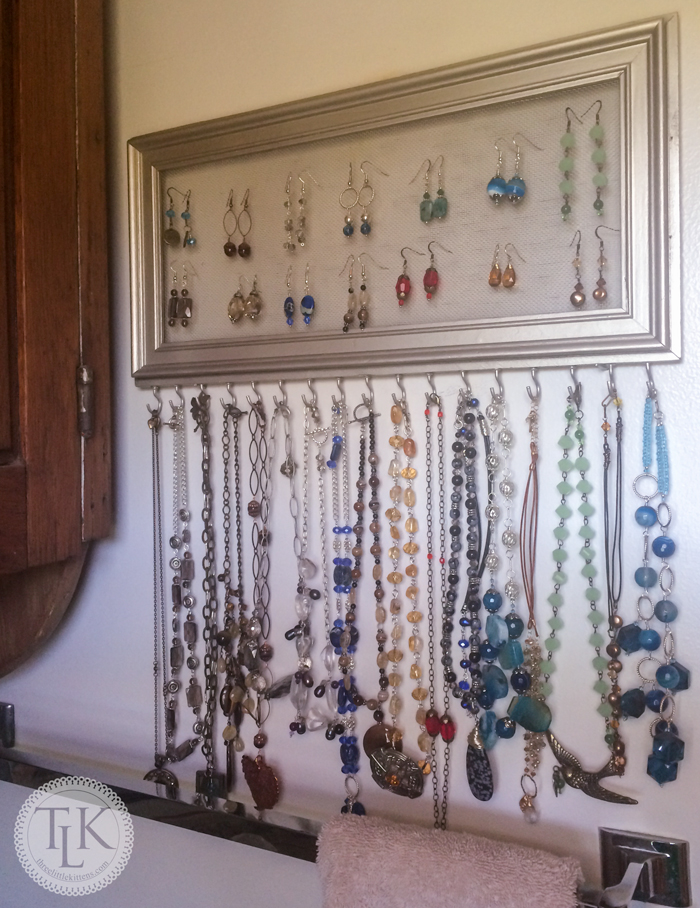
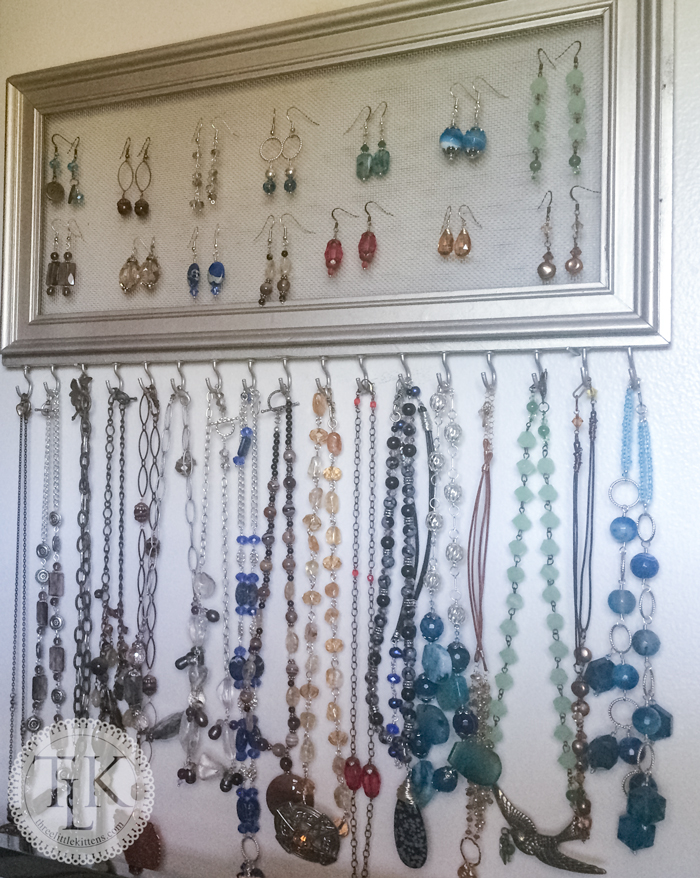
I am happy about how it turned out. I was able to fit seventeen necklaces here and that gets them out of a crammed drawer into the open where I can see them and enjoy them.
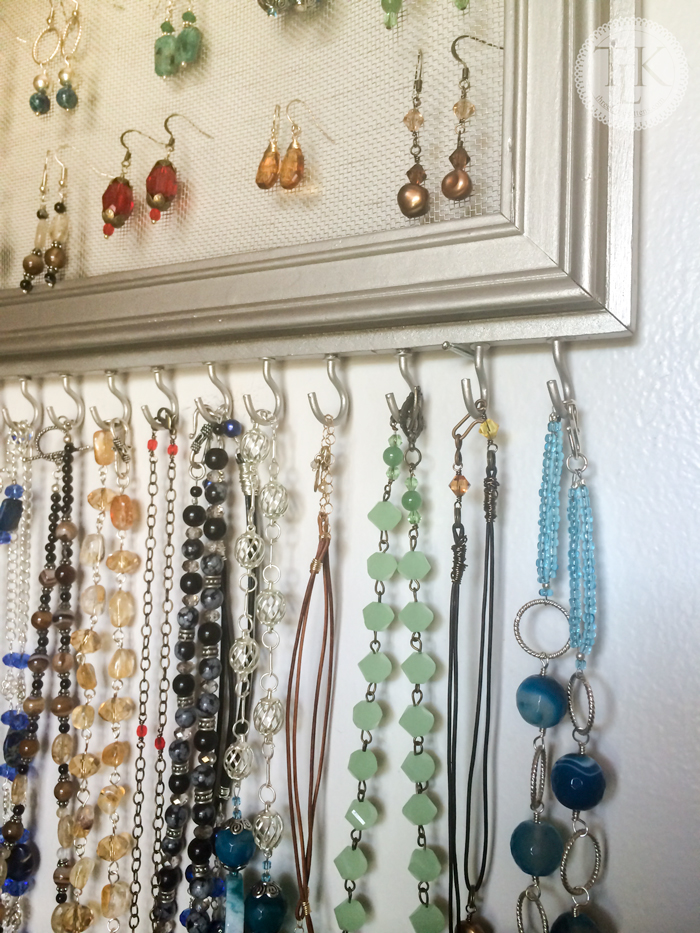
These almost look like art, too. The earrings slip right into the screen mesh and I love how they hang and are not tangled up in my drawer anymore.
I think I definitely am going to use that second frame to make another one of these.
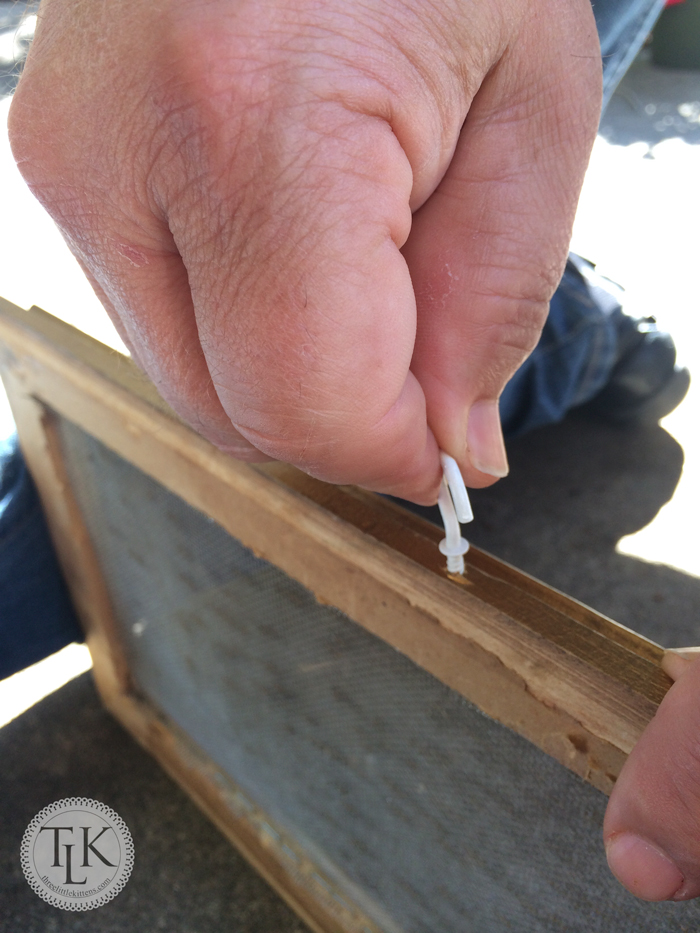
One other thing to note, depending on the type of frame that you use. Many of these necklaces are heavy, so much so that when one is removed from the cuphook we found the frame tilting from one side to the other.
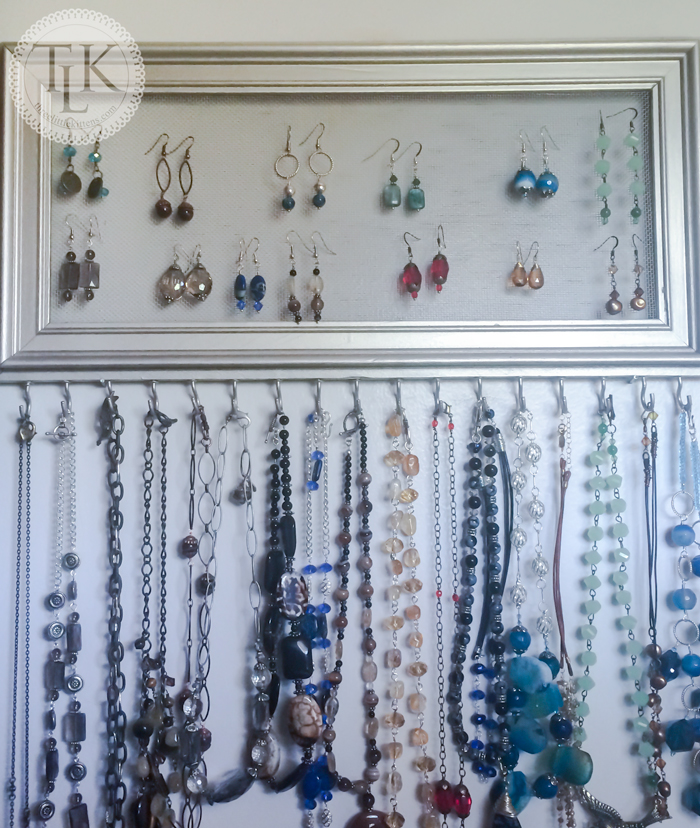
If you look closely at the second hook from the right you can see a thin little nail. Keith added these to each side so that the frame would remain stable. You could also add another set of hooks to your back if you want before you hang it. You could have two hangers, one on each side or even those and one in the middle. We just used what came with the frame and used this simple fix after we discovered the issue. You may not have any issues depending on what you use and what you hang. Just wanted to bring this to your attention as something that could happen.
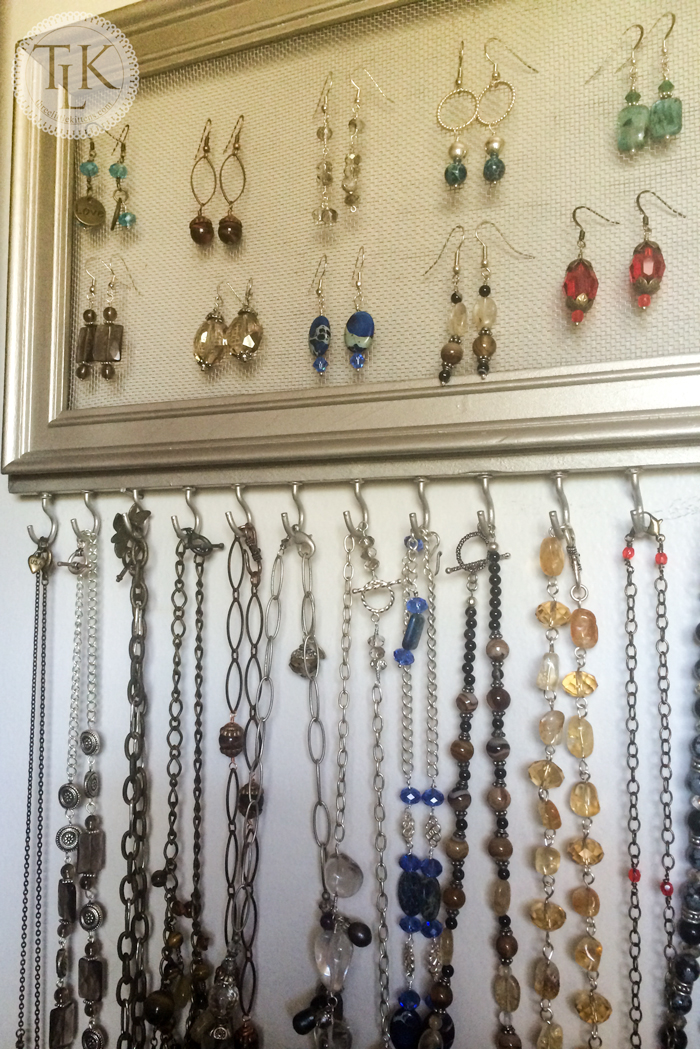
You can see the other nail here. Because they match the frame color, they really blend in and probably are not that noticeable. Just remember to keep this in mind when making your Jewelry Display. I really love how this turned out. It was super simple, looks really great and helps keep my jewelry organized and in plain sight. And I saved a few old frames from going to the landfill. That’s always a plus.
This post linked up to Knick of Time and Not Just a Housewife
Leave a Reply