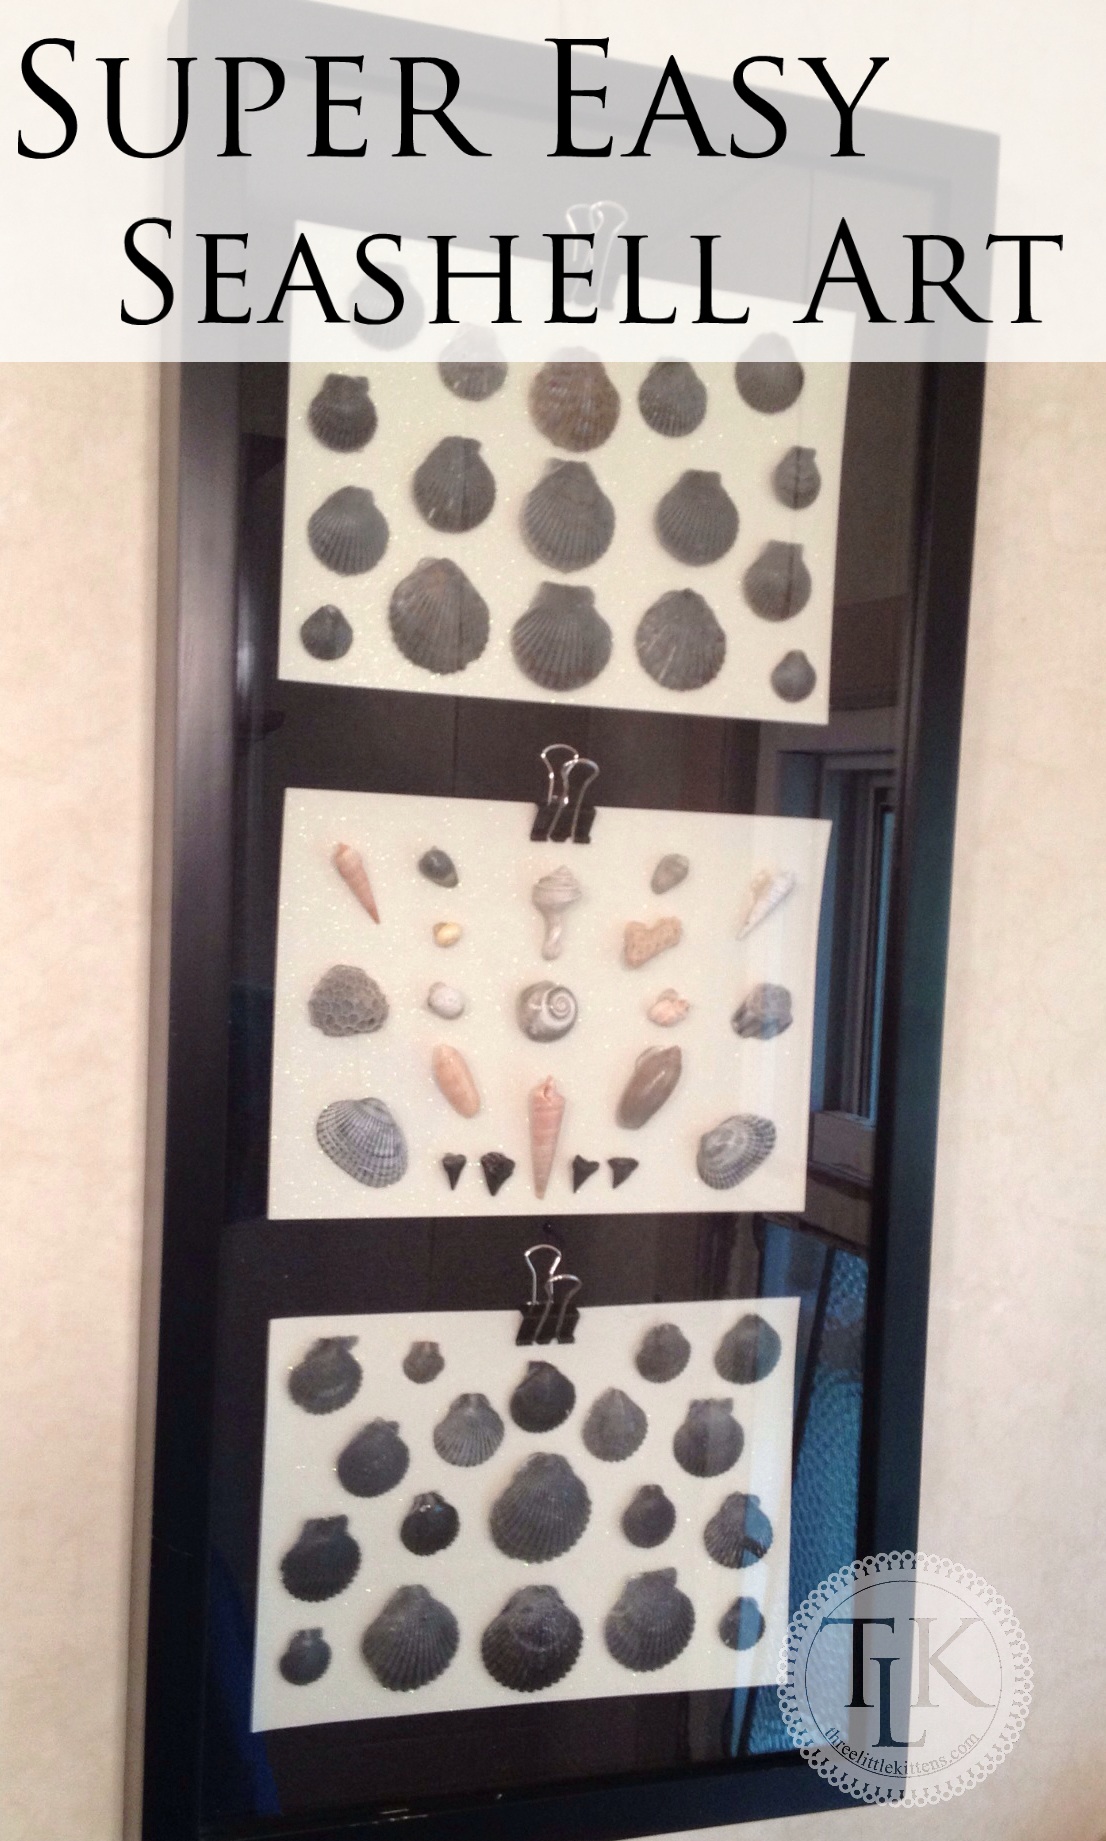
Last week I shared how we made some Super Easy Seashell Vases while we were on vacation. Well we collected other shells and today I want to show you how we took those and made some Super Easy Seashell Art. (It really does look a lot better than the picture above, our bathroom is tiny and I could not get a good picture without the glare.)
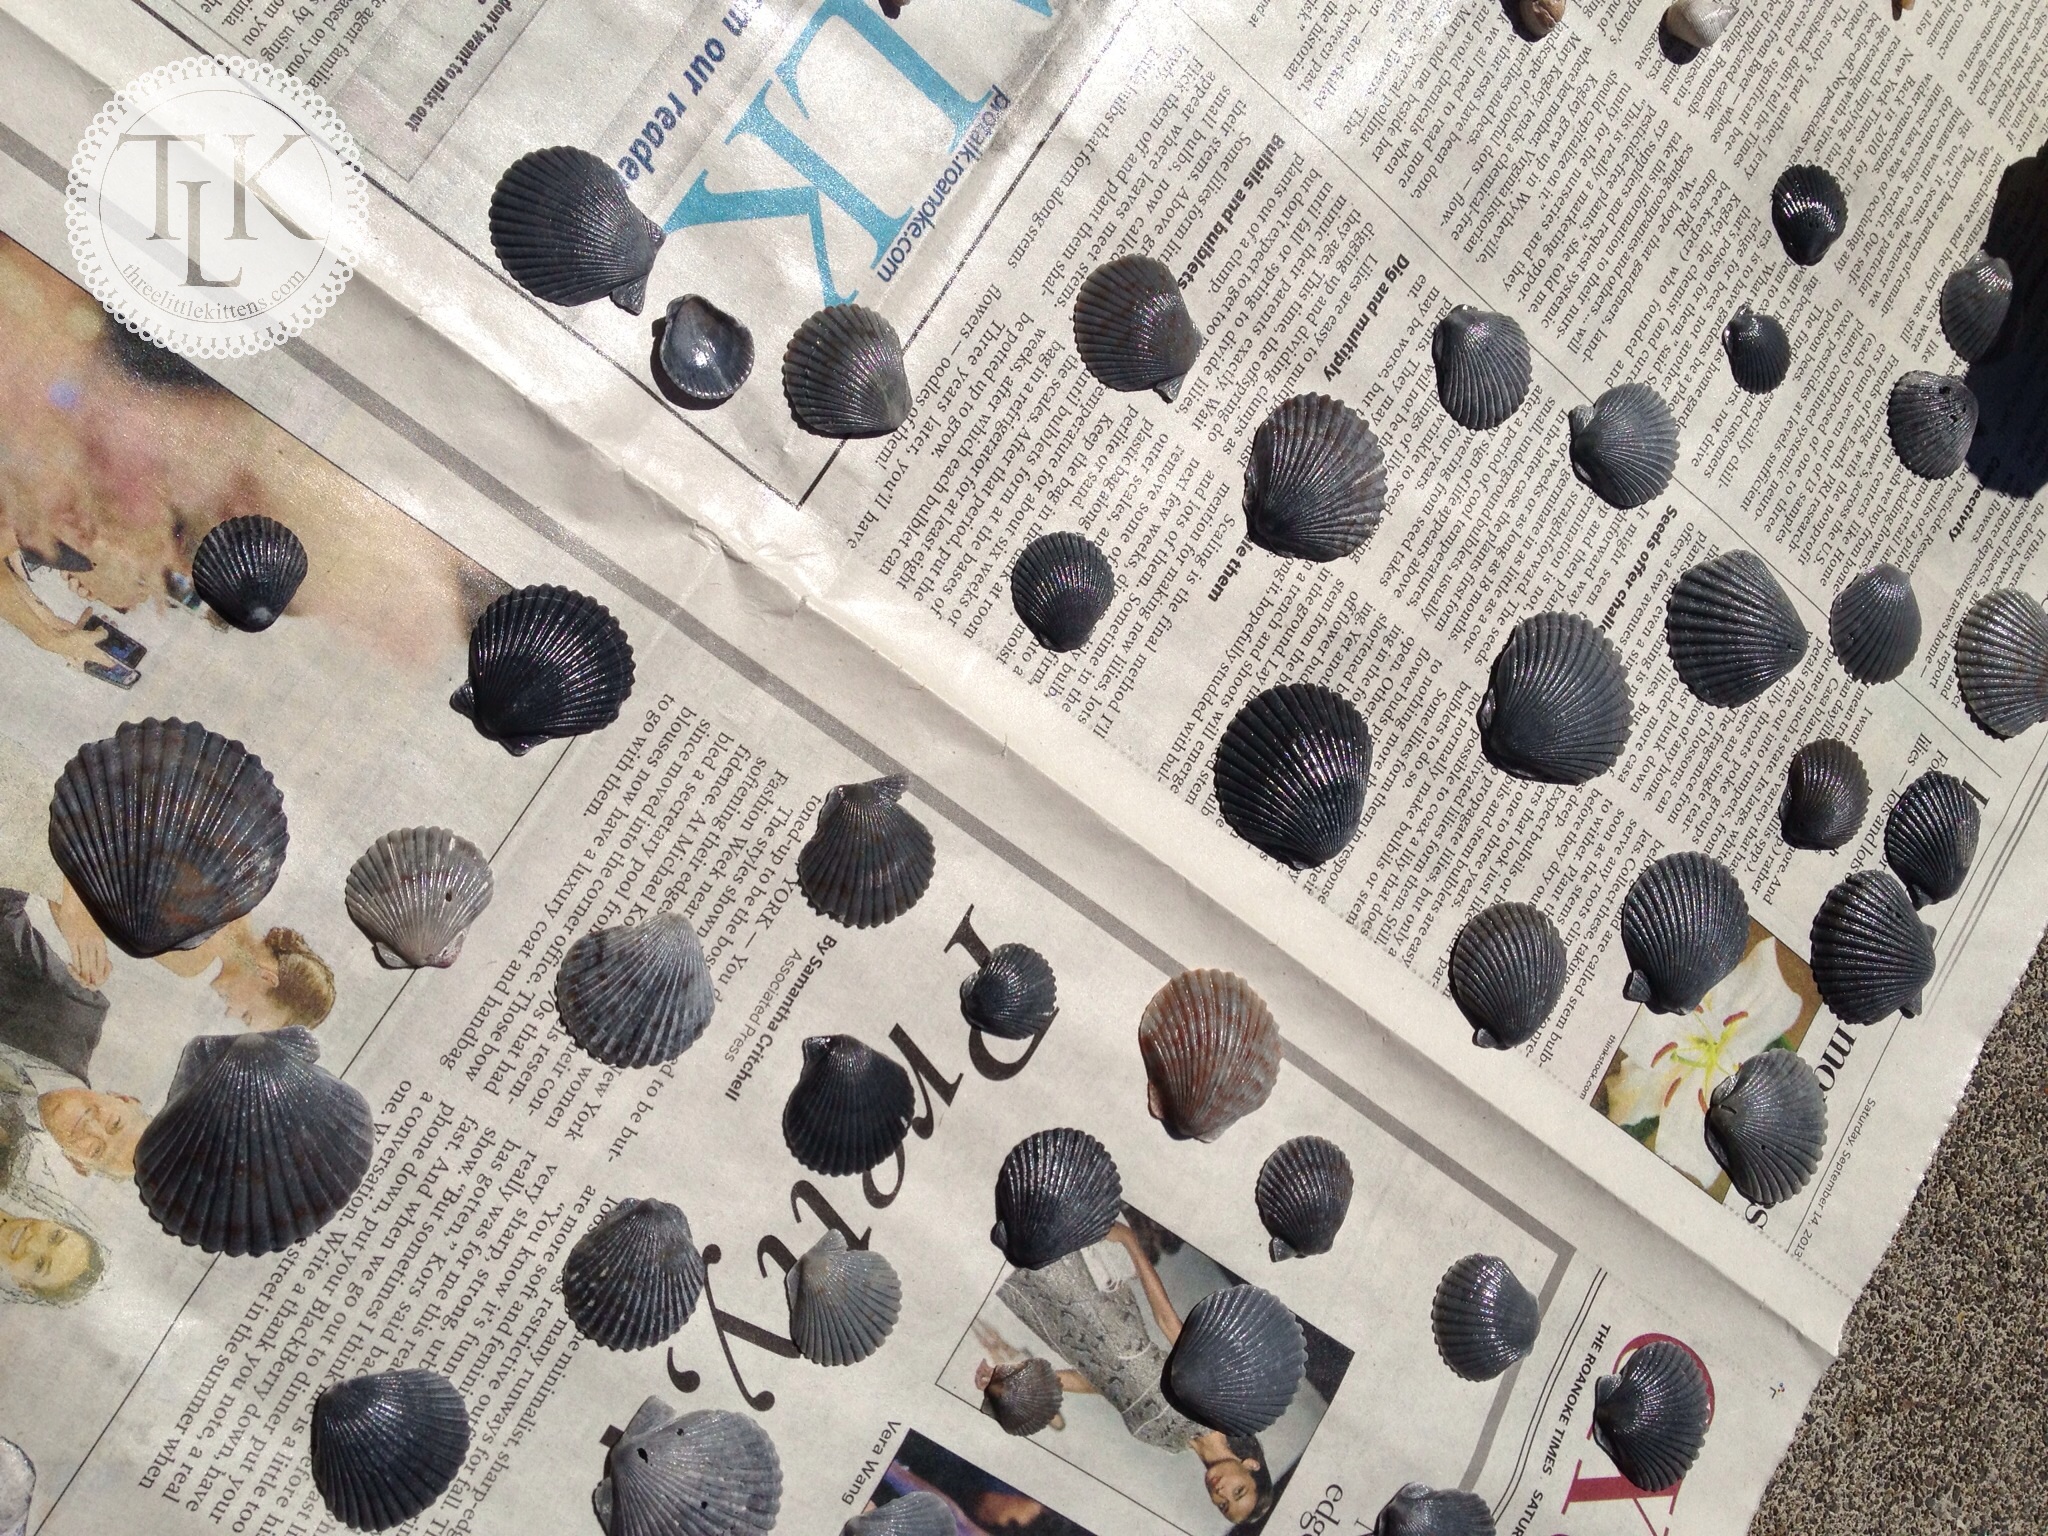
This year we were able to find an abundance of little black and gray scallop seashells. I love these and usually just find pieces, but we hit the jackpot this year. We cleaned them at the beach and when we got home I laid them out on newspaper outside and sprayed them lightly with clear enamel to add a little shine.
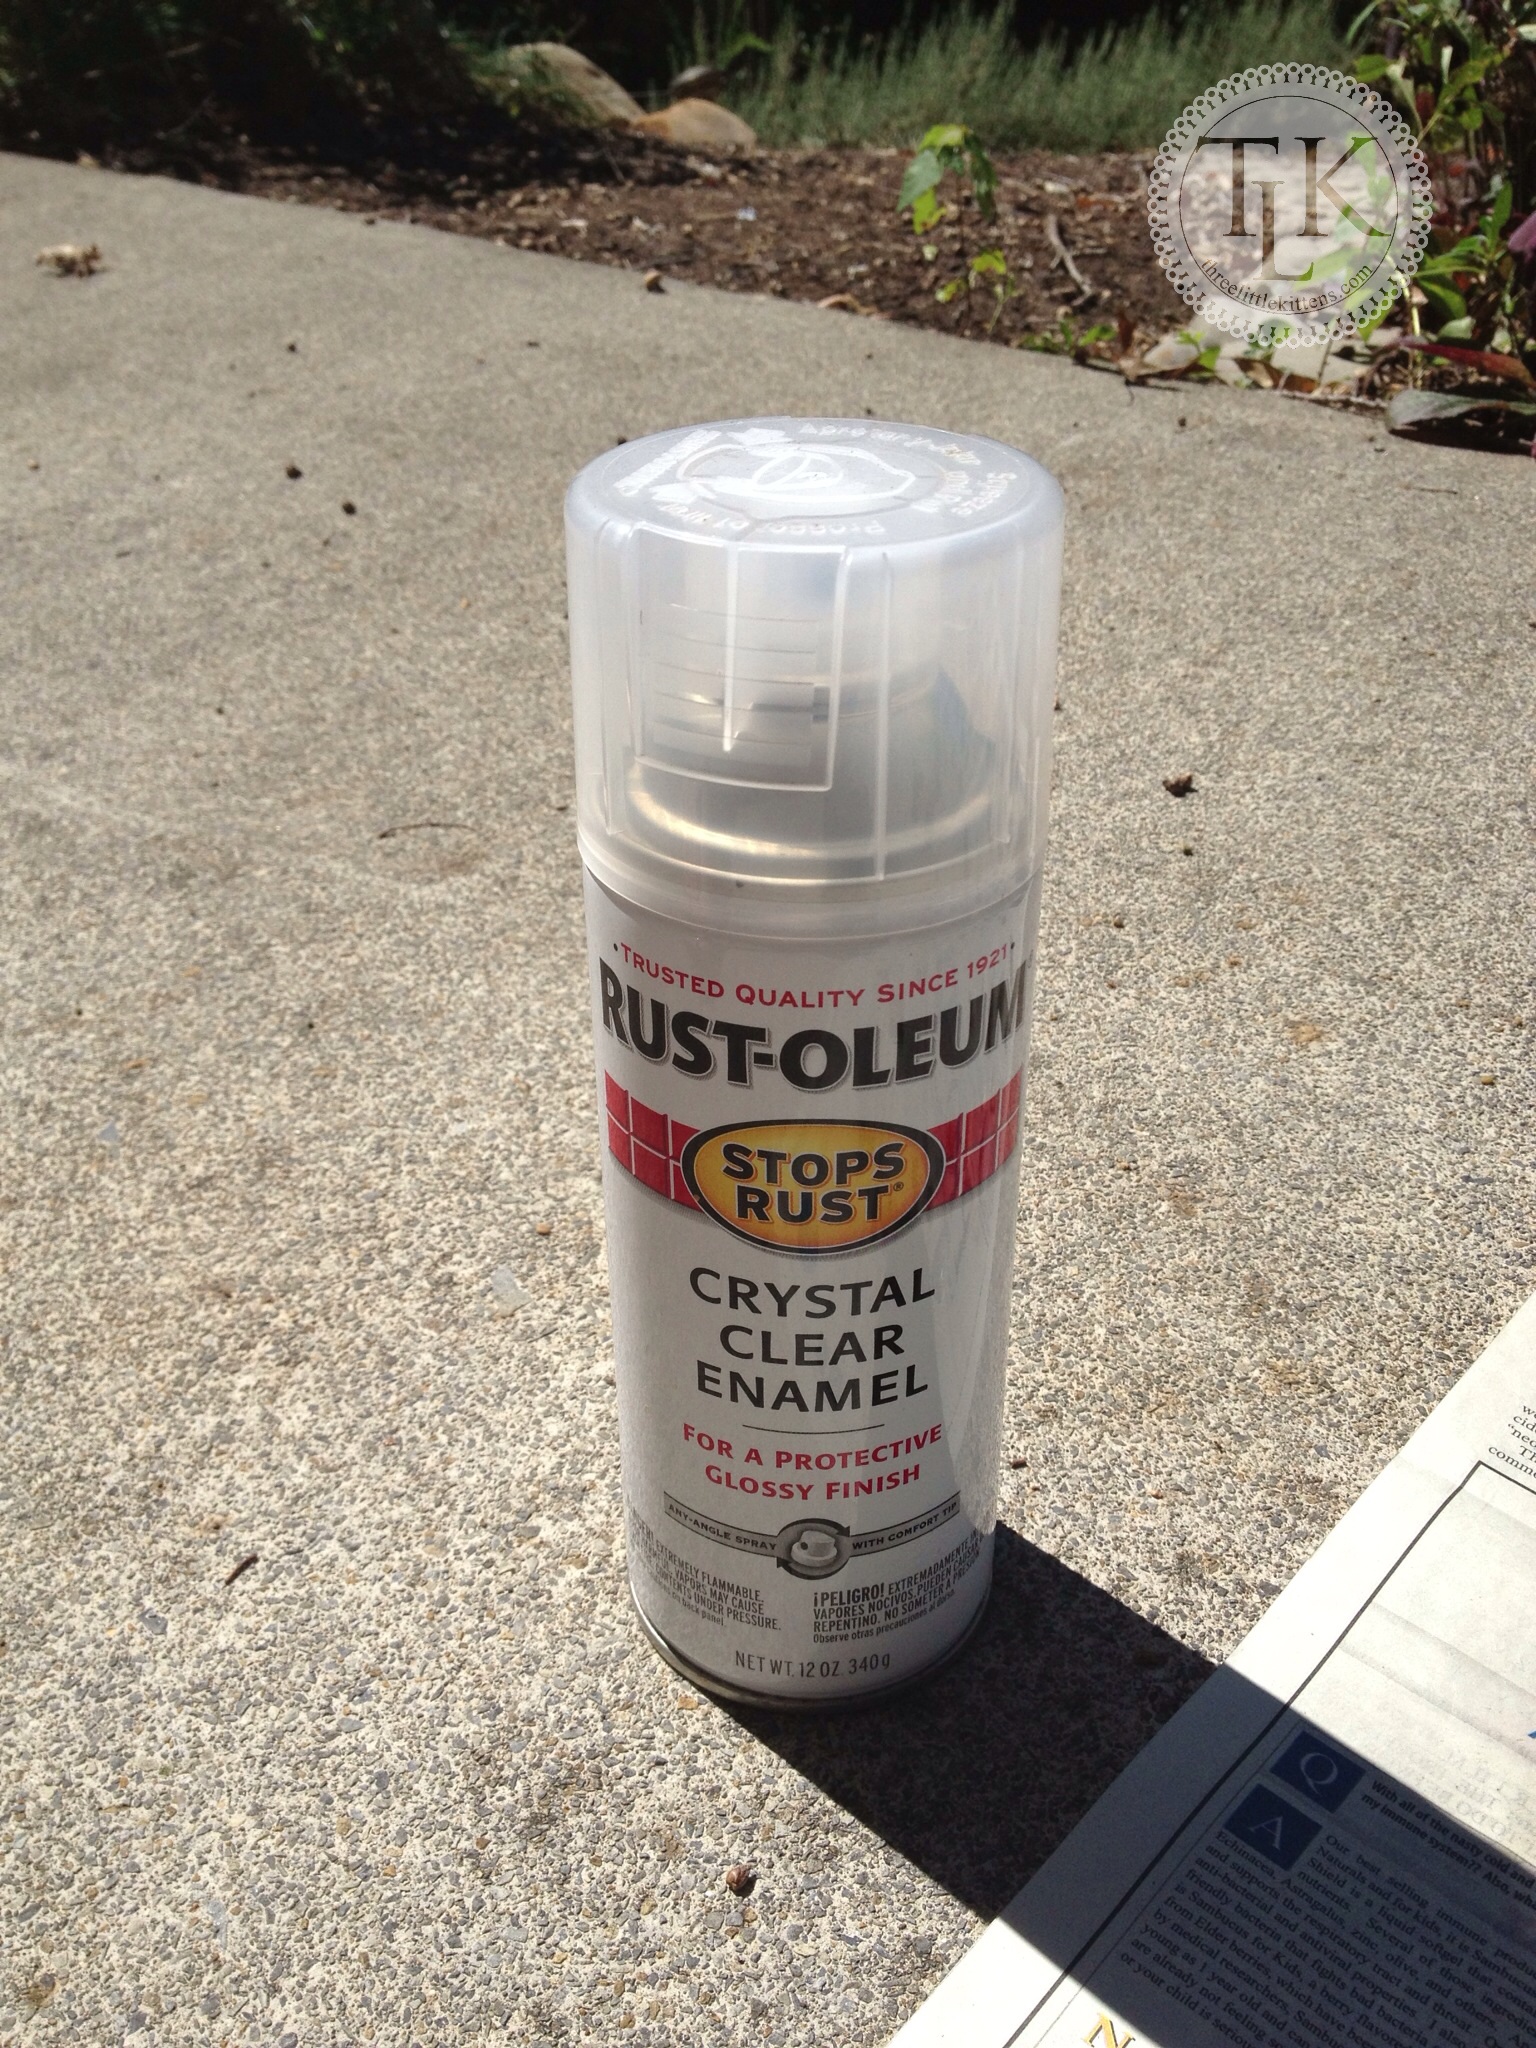
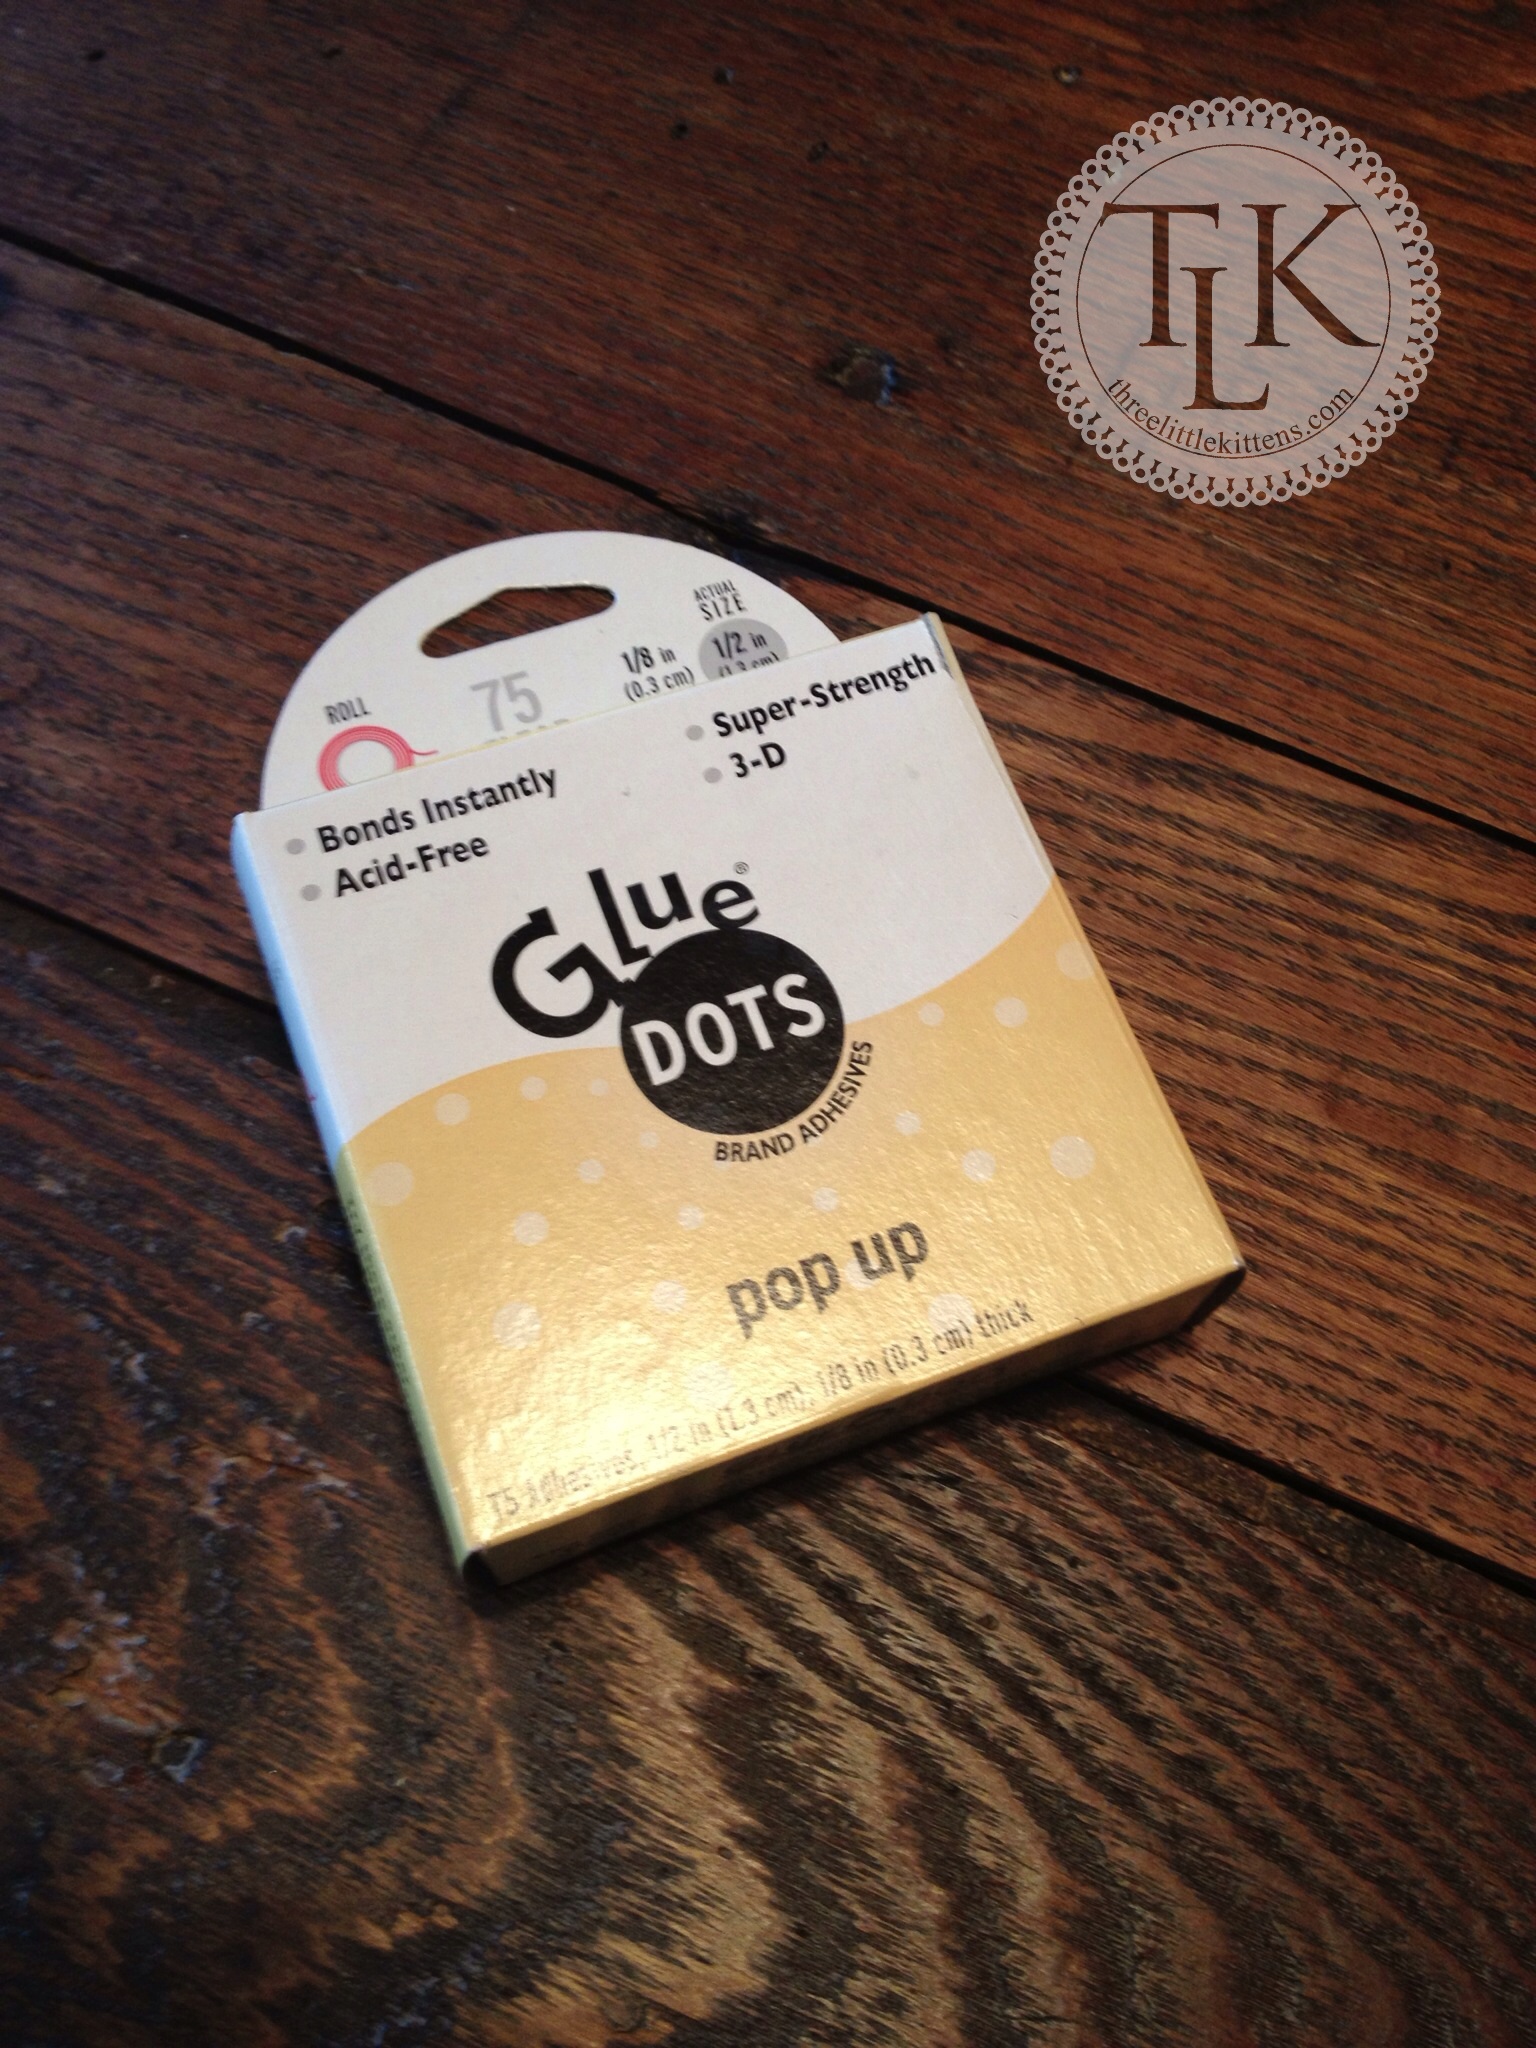
This is what I used, no particular reason, just what I had on hand.
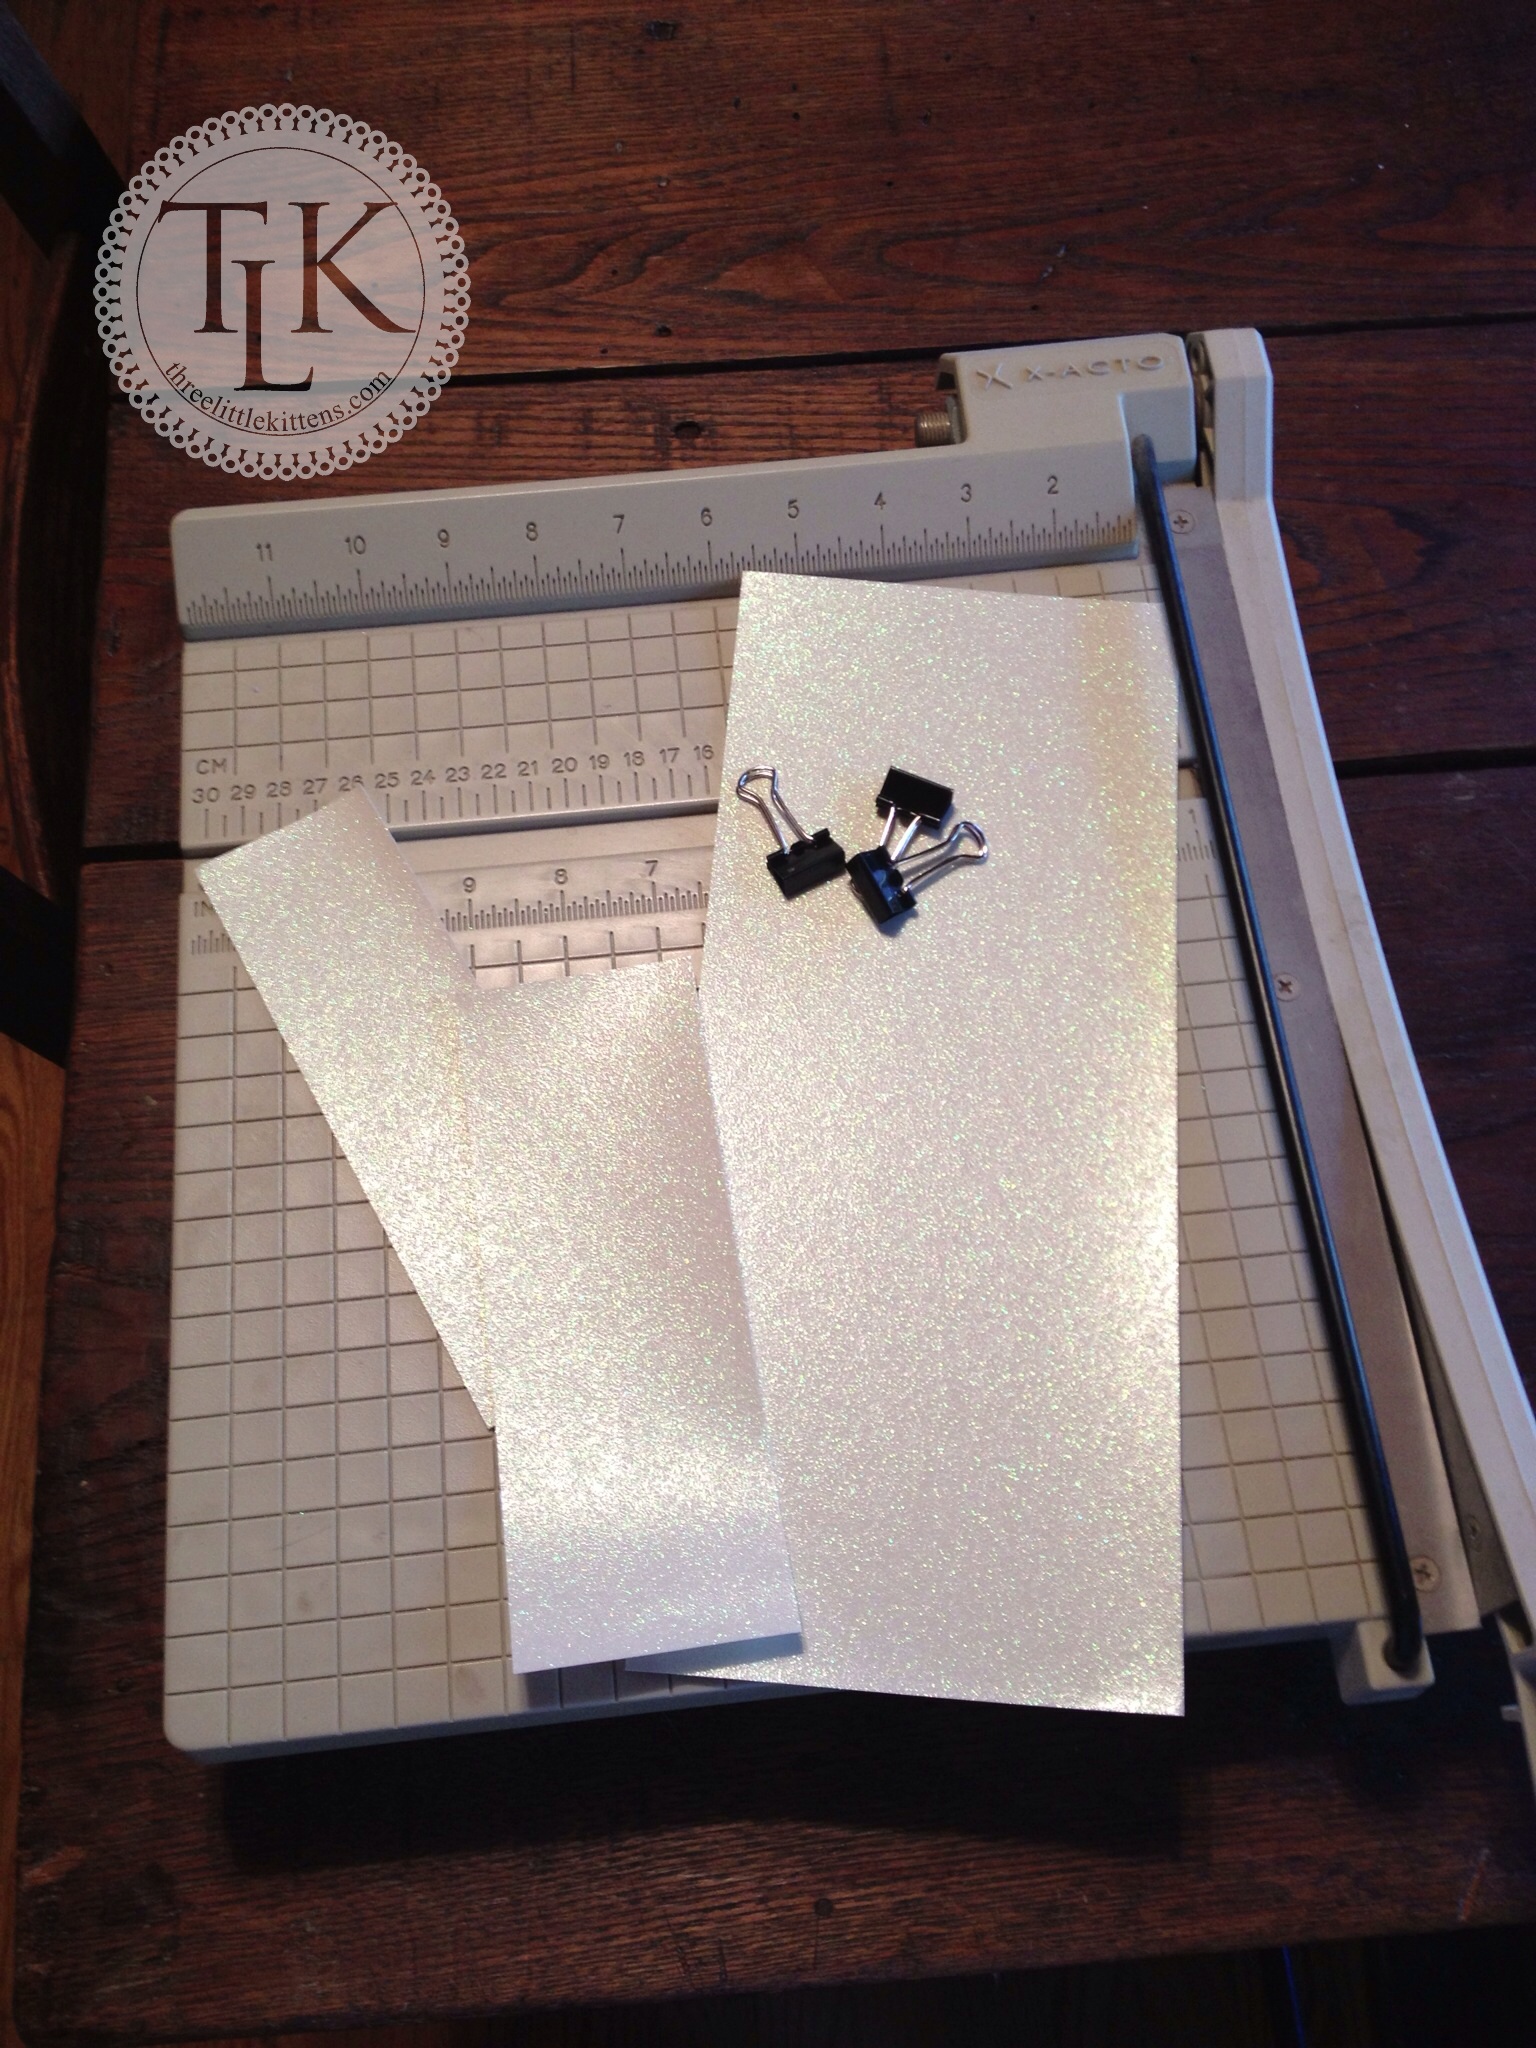
While they were drying I came inside and assembled the supplies I would need to complete my Shadowbox Frame, which I had purchased a while back when I found it on sale somewhere for a ridiculously low price, knowing someday I would find a use for it – I know I cannot be the only one that does that! Anyway, I knew I had some glittery scrapbook cardstock that I had used from a previous bathroom shadowbox, so I pulled that out along with some black office clips. By the way, my shadowbox frame is black and will go perfectly with the black scallop seashells. The glittery cardstock actually kind of looks like sand when this is all done.
I had a couple of options for securing the seashells and have found in the past that these work very well.
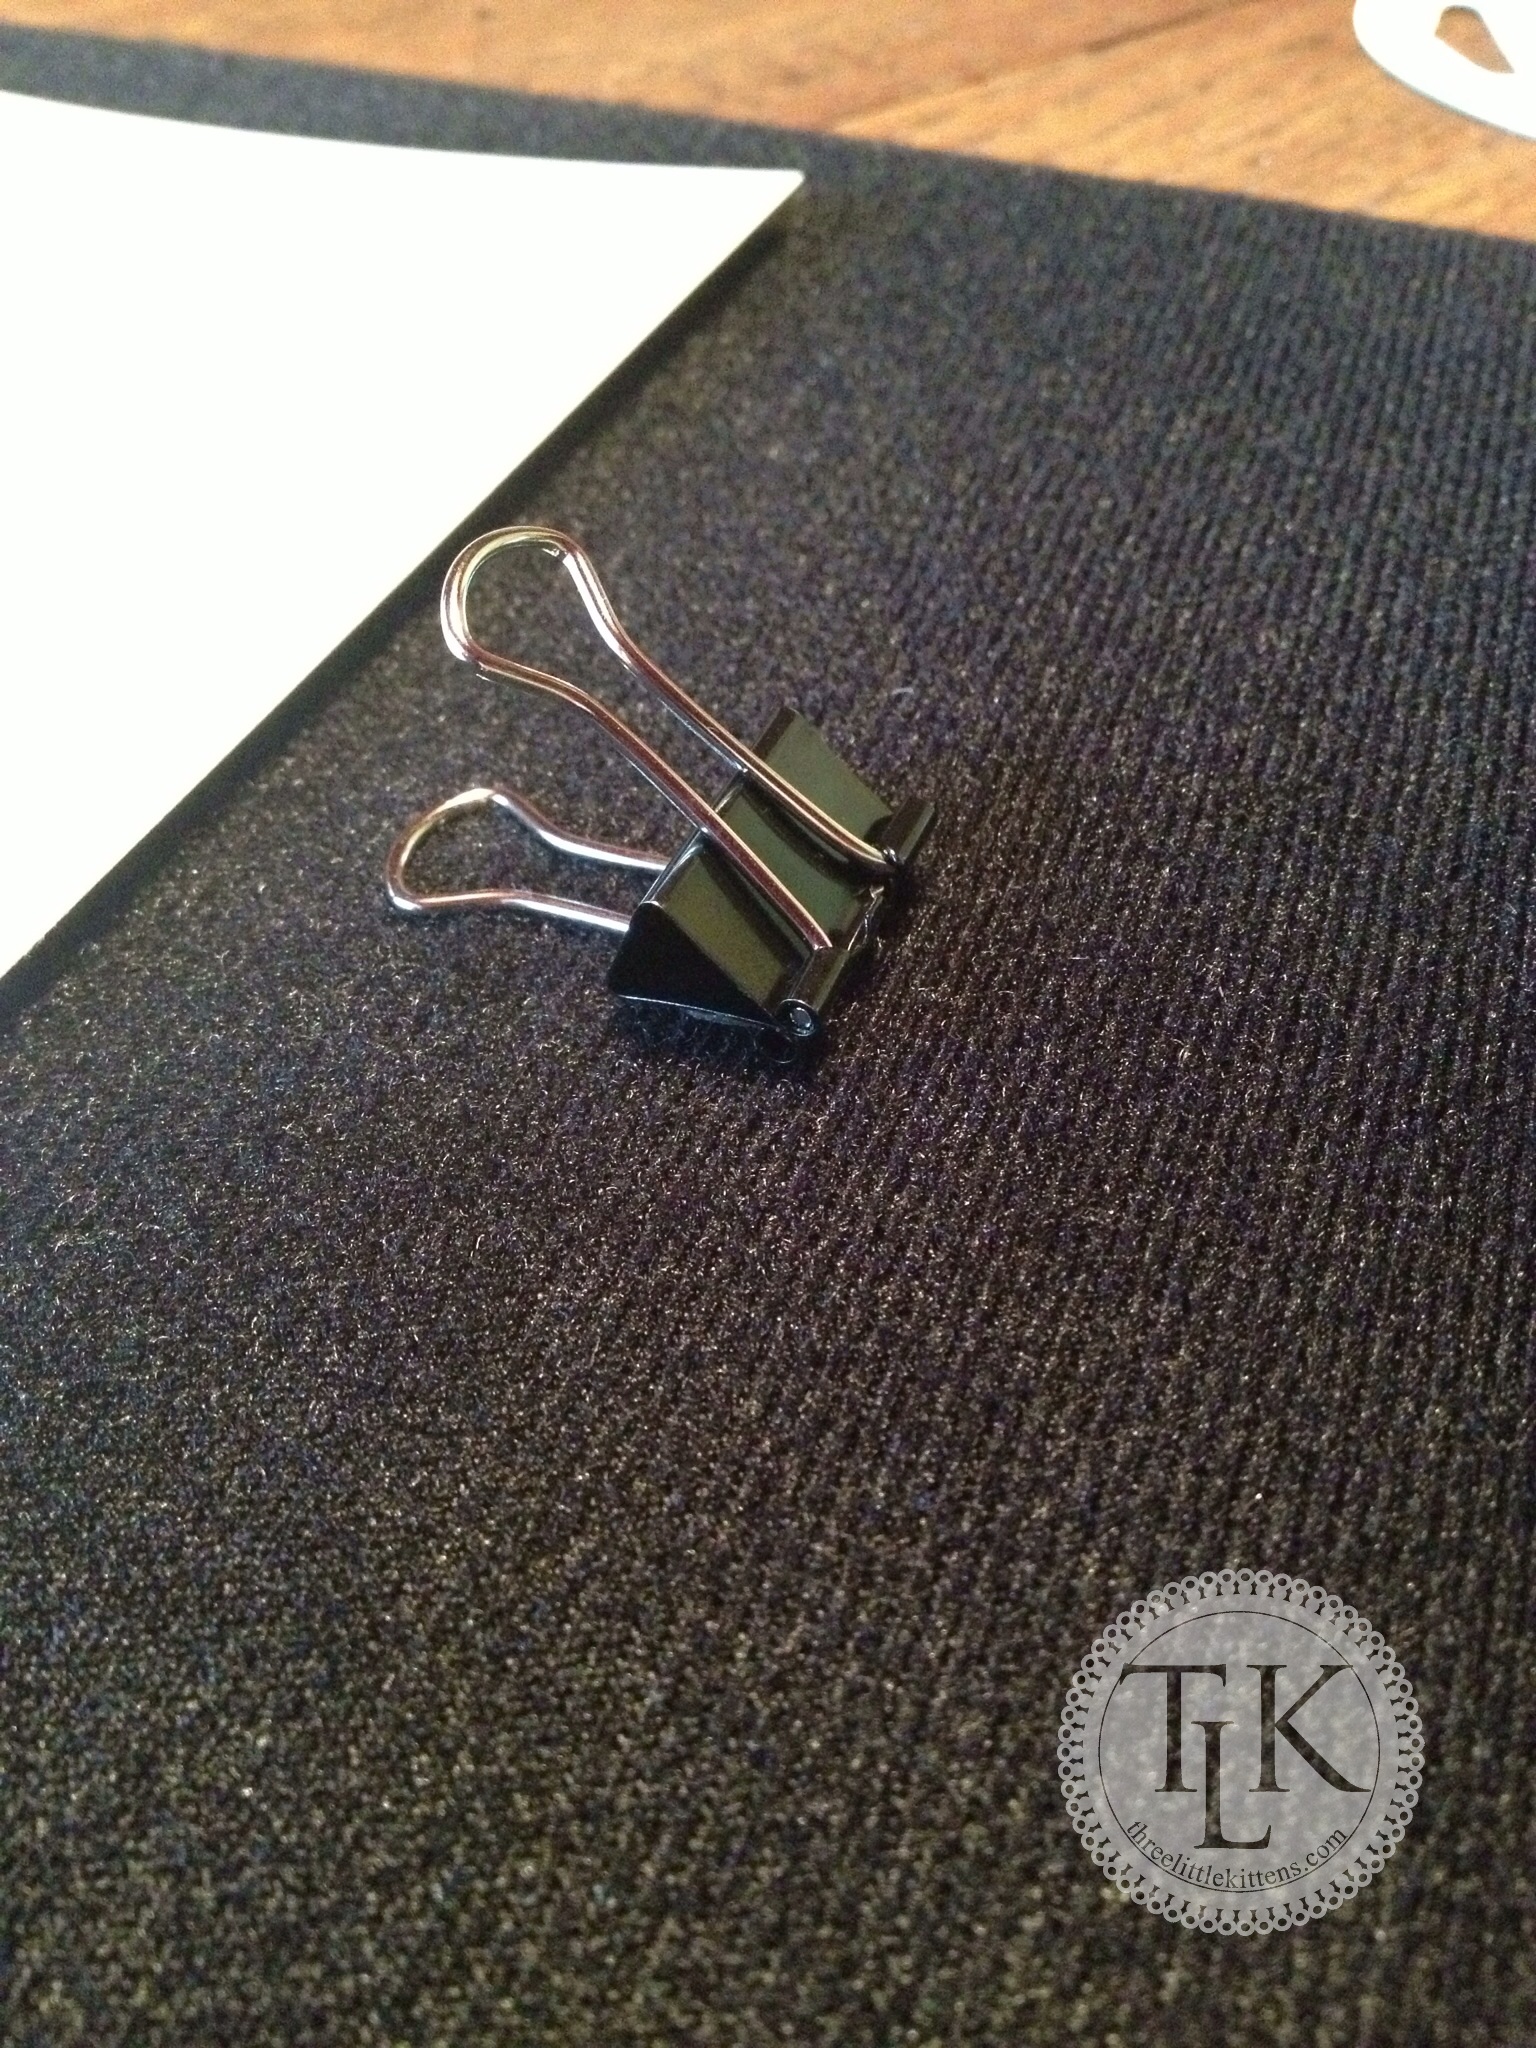
My frame is long and narrow and after I determined how I wanted it oriented I determined by the size that I could use three pieces of cardstock cut to 5 x 7 size. In a previous shadowbox I had used an office clip to secure the cardstock to the shadowbox and decided to do the same with this project. I secured the office clip with a glue dot. The backing of my shadowbox frame is fabric (it came with Velcro strips – which I chose not to use) and since my items are lightweight, the glue dot will be strong enough to support my seashells.
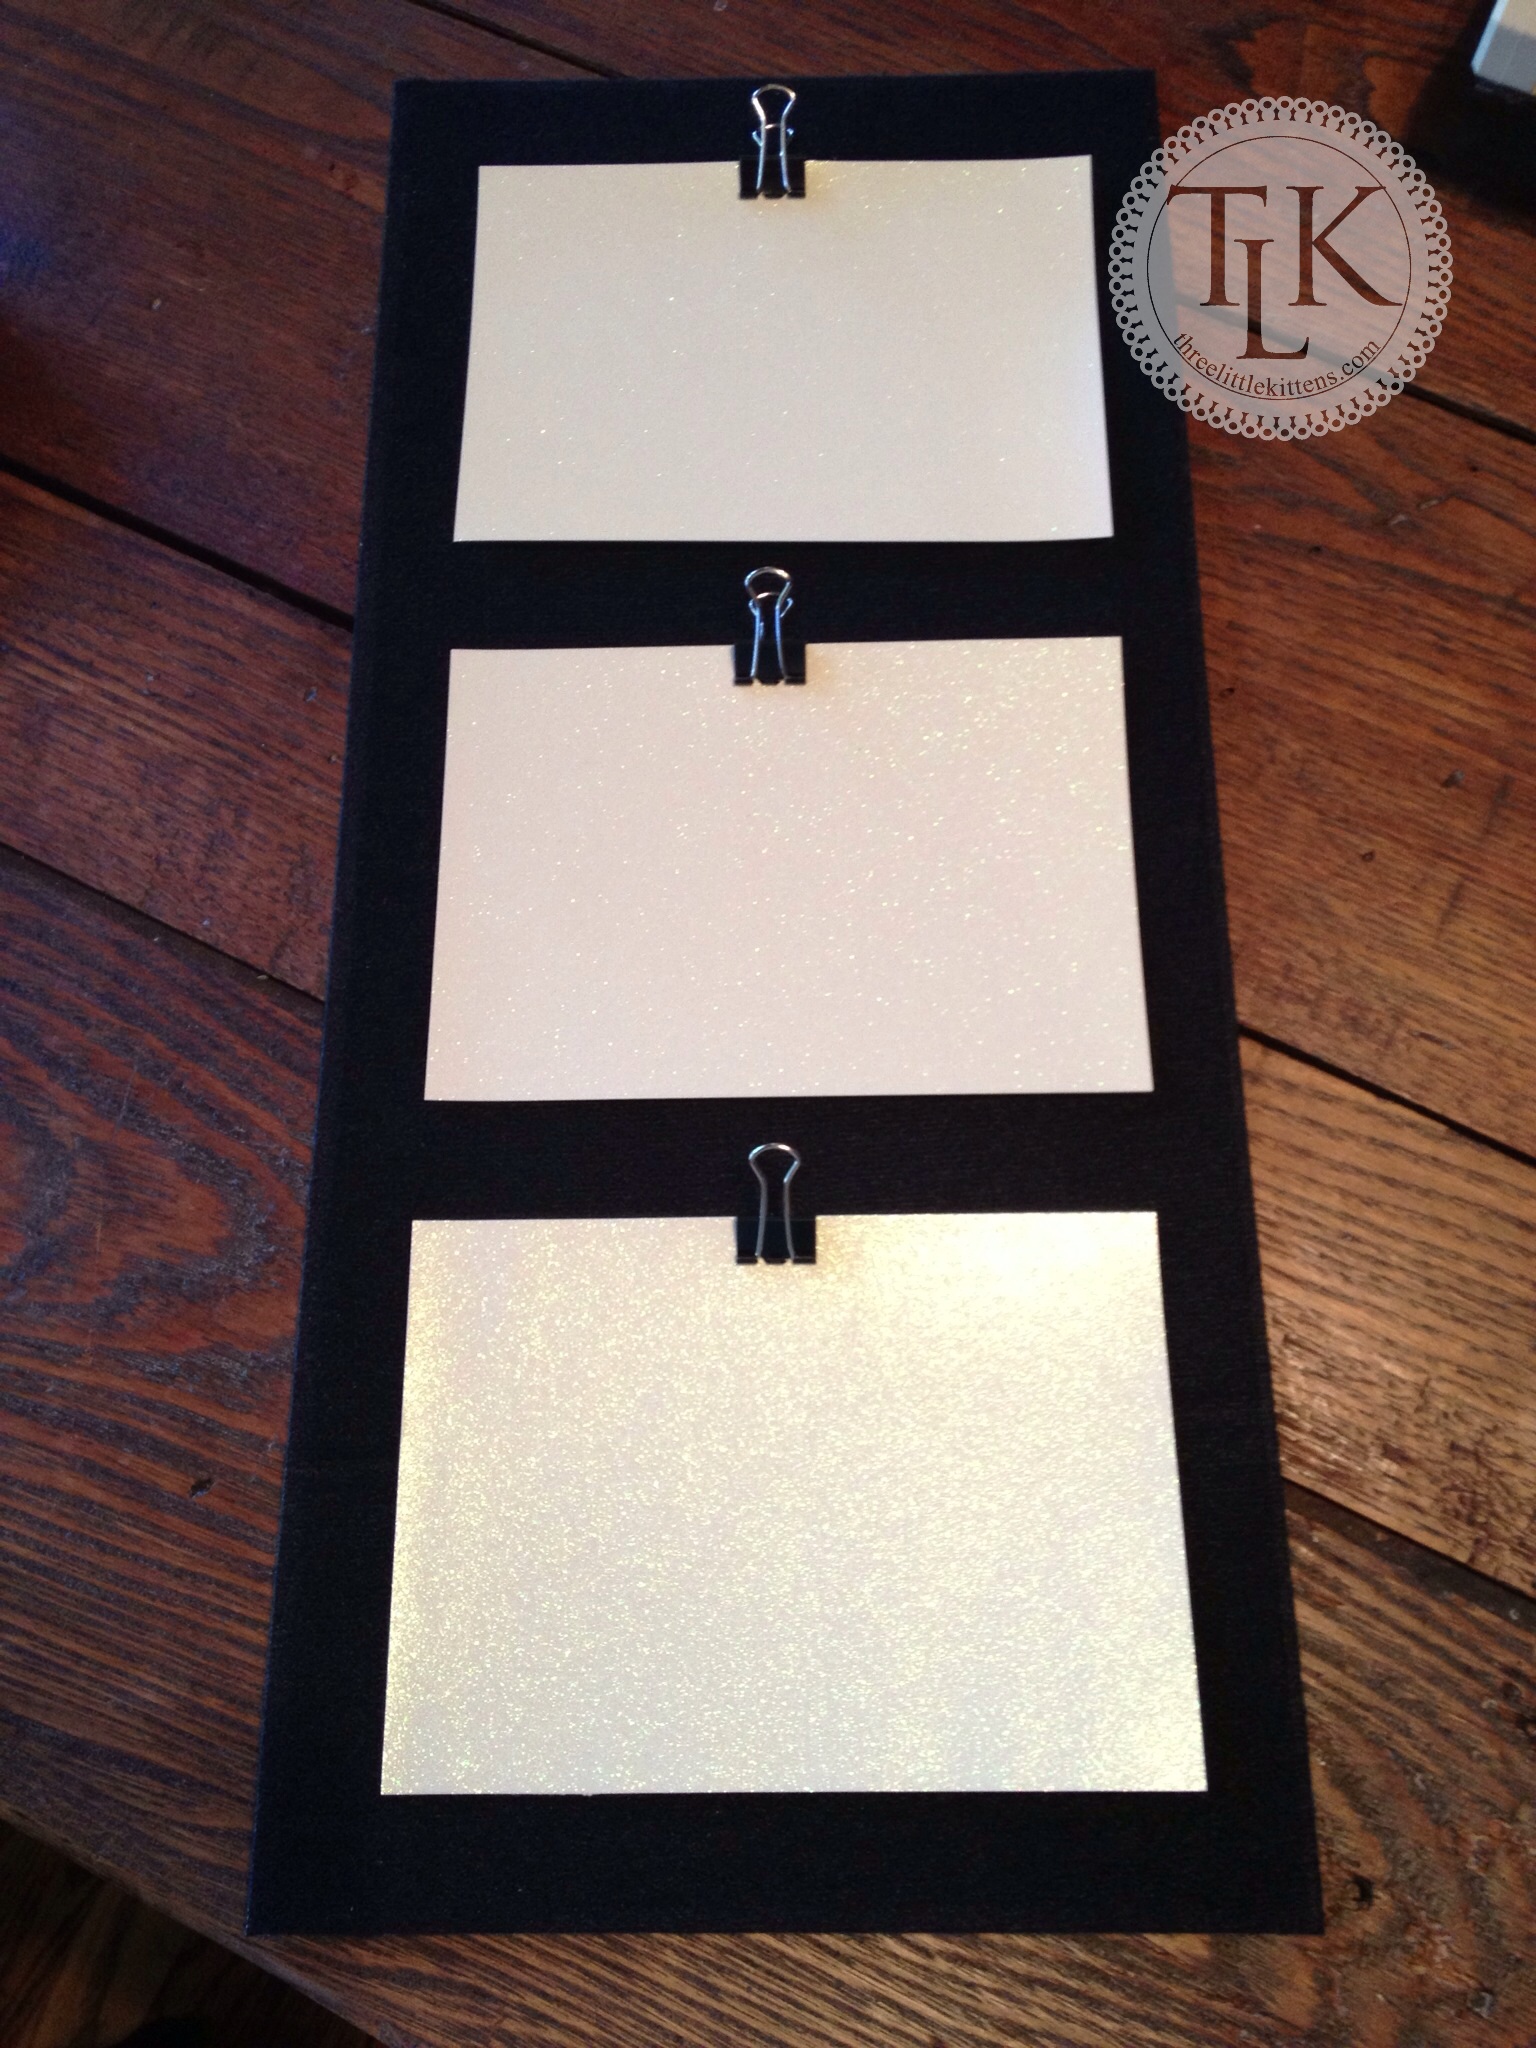
Here you can see my layout with my cardstock and office clips attached to my shadowbox backing.
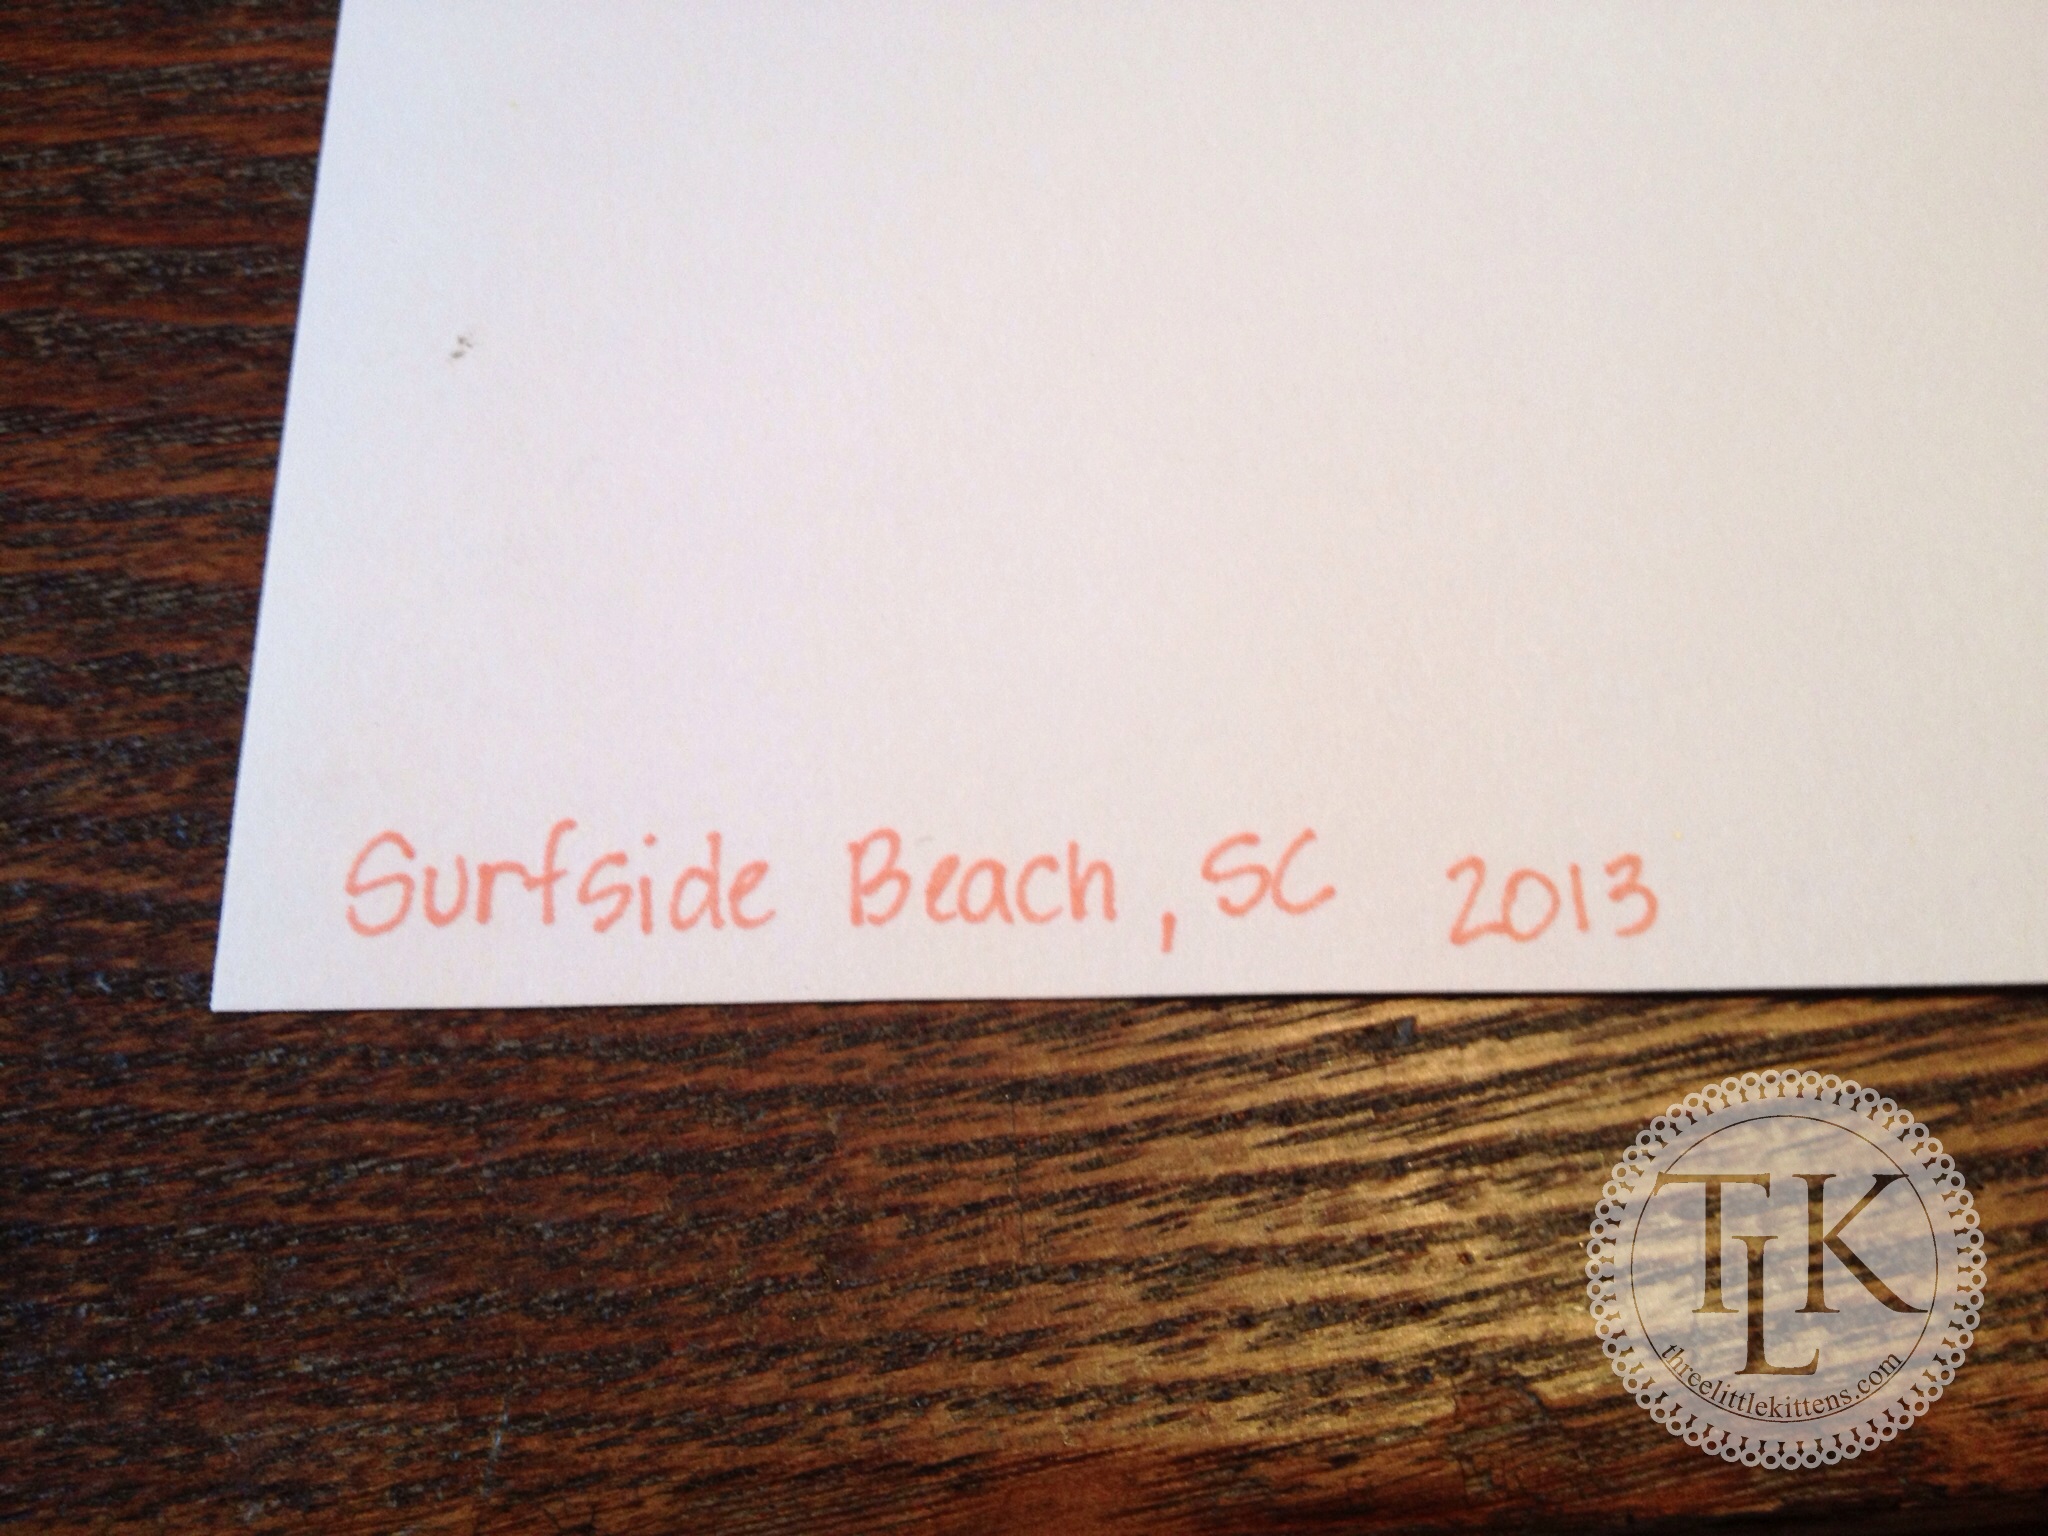
On the back of each piece of cardstock I did document where and when the seashells were found. I am always forgetting little details, so this will be so important to have years from now.

Now comes the fun part. laying out the seashells and deciding how I want them arranged. After arranging one of the cards with the black scallops, I decided that maybe I wanted to mix it up a bit and add a few of the other special seashells and coral that I had collected this trip. Because this was an after thought, I had to take these out and seal them and let them dry before I could secure to the cardstock. It made the project go a little longer, but I like how it adds some variety.
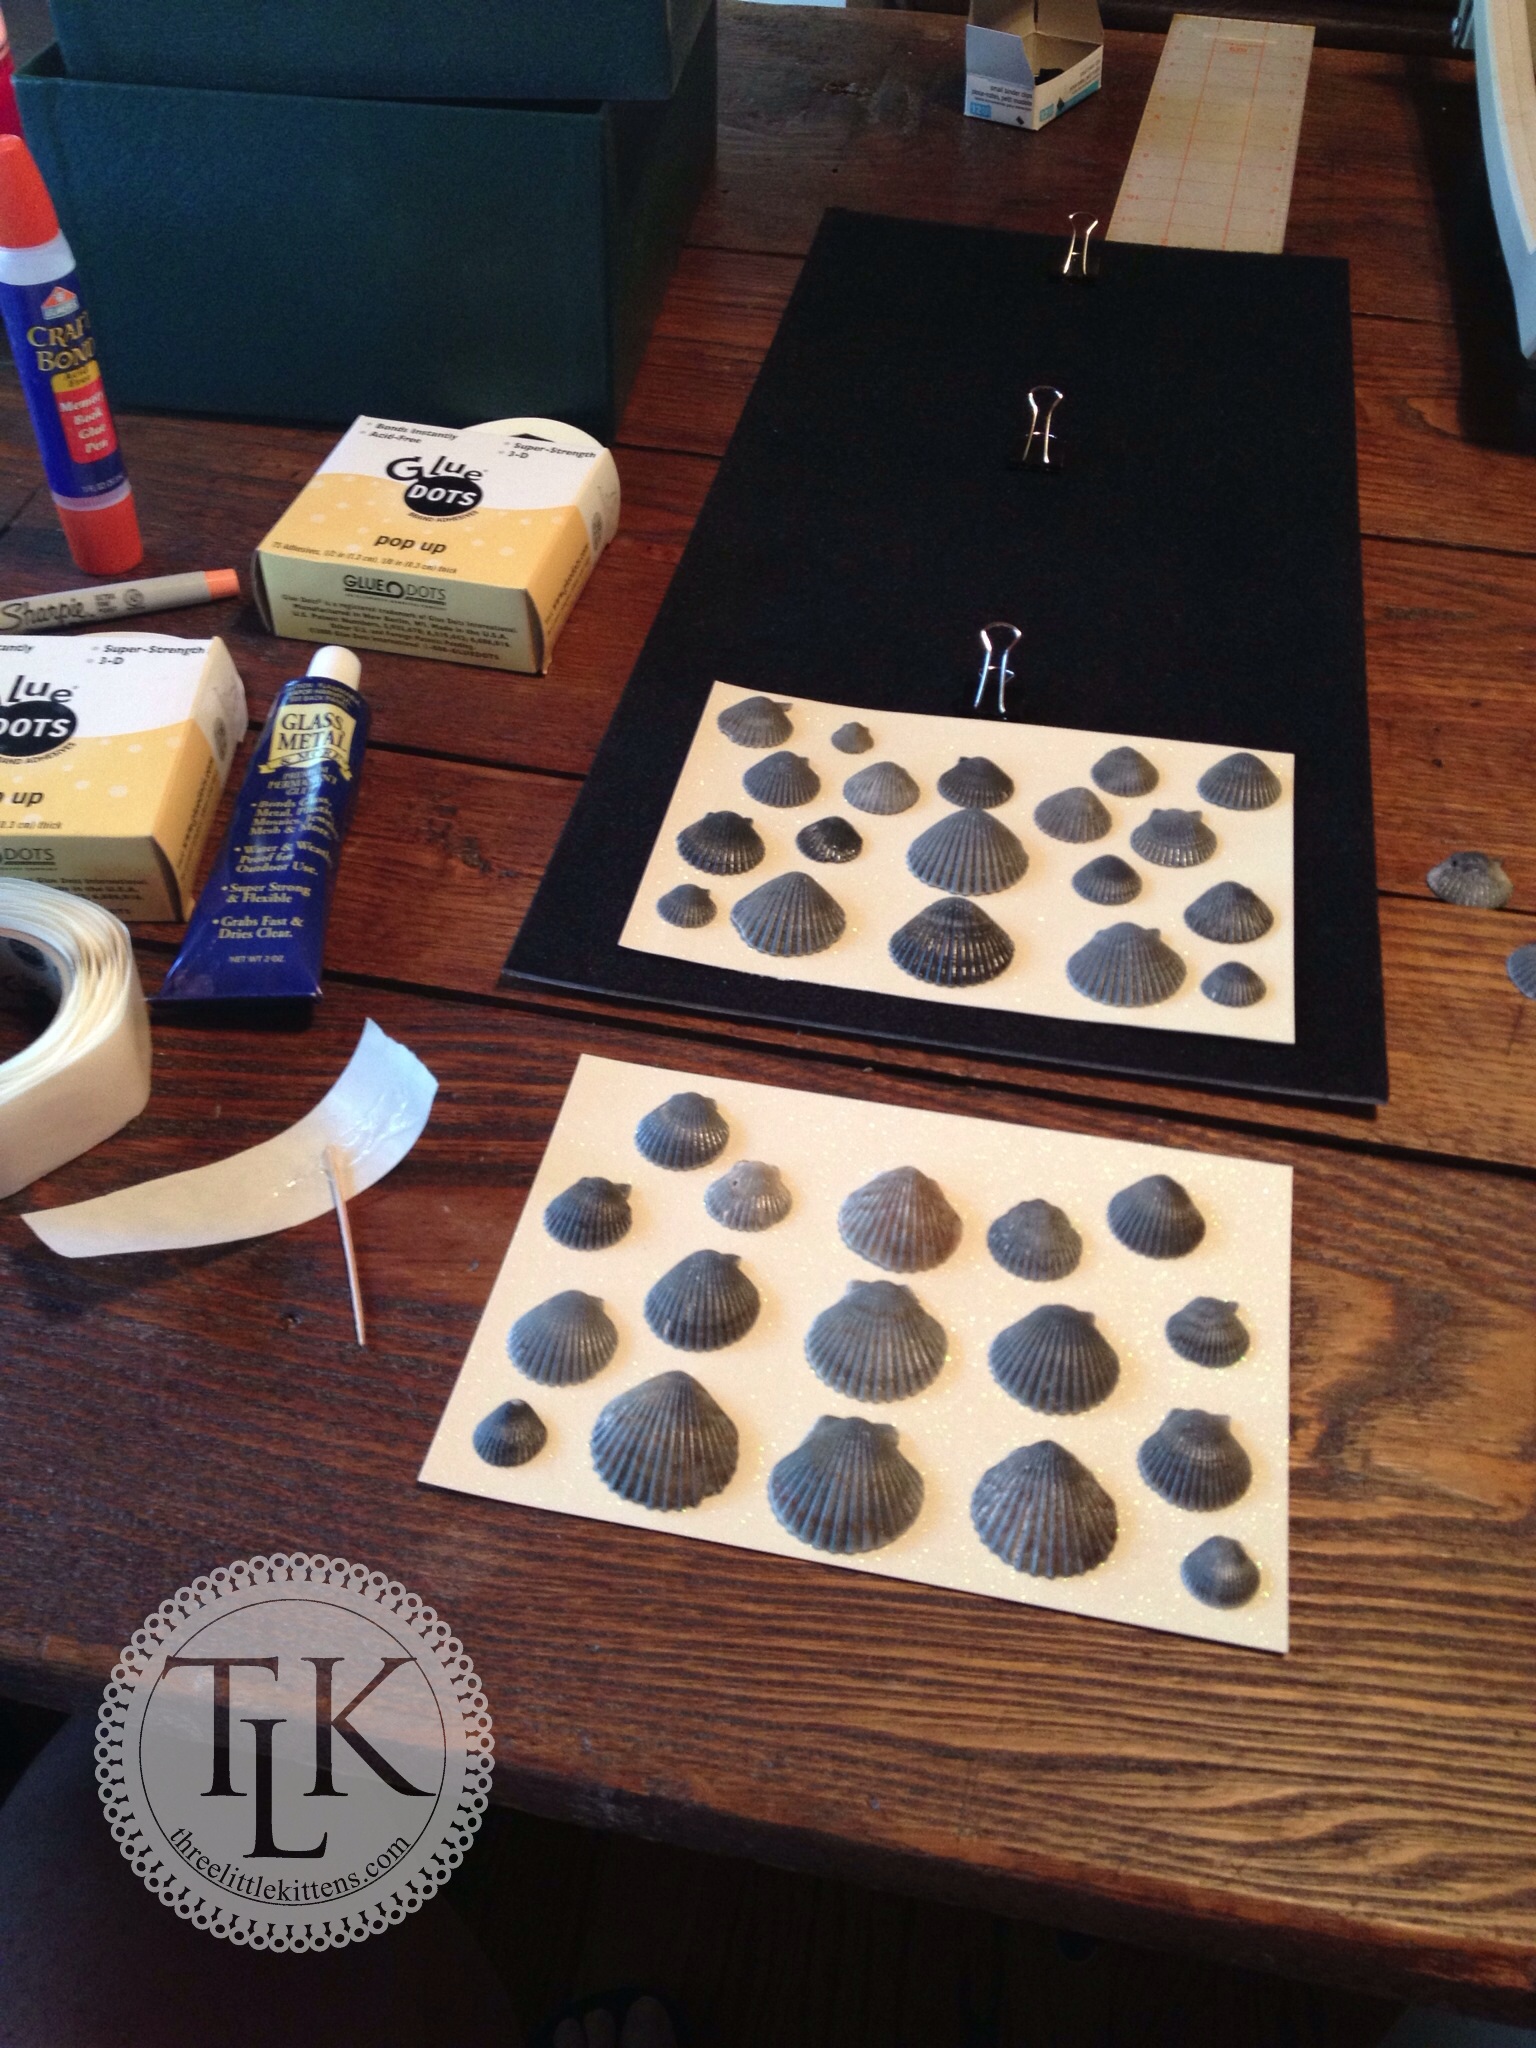
Here you can see me working on the black scallops. You can also see some other glues I had on hand for items where the glue dots would not adhere to the seashells. Two of the coral pieces were attached to some type of seashell that would not stick to the glue dots so I used the other glues to attach them to the cardstock. I still used the big glue dots for the scallops but broke them into 3-4 sections to adhere the shells. Some of the smaller shells really didn’t need one huge dot and the smaller pieces were easier to work with. I could have used smaller glue dots, too, but just used what I already had out.
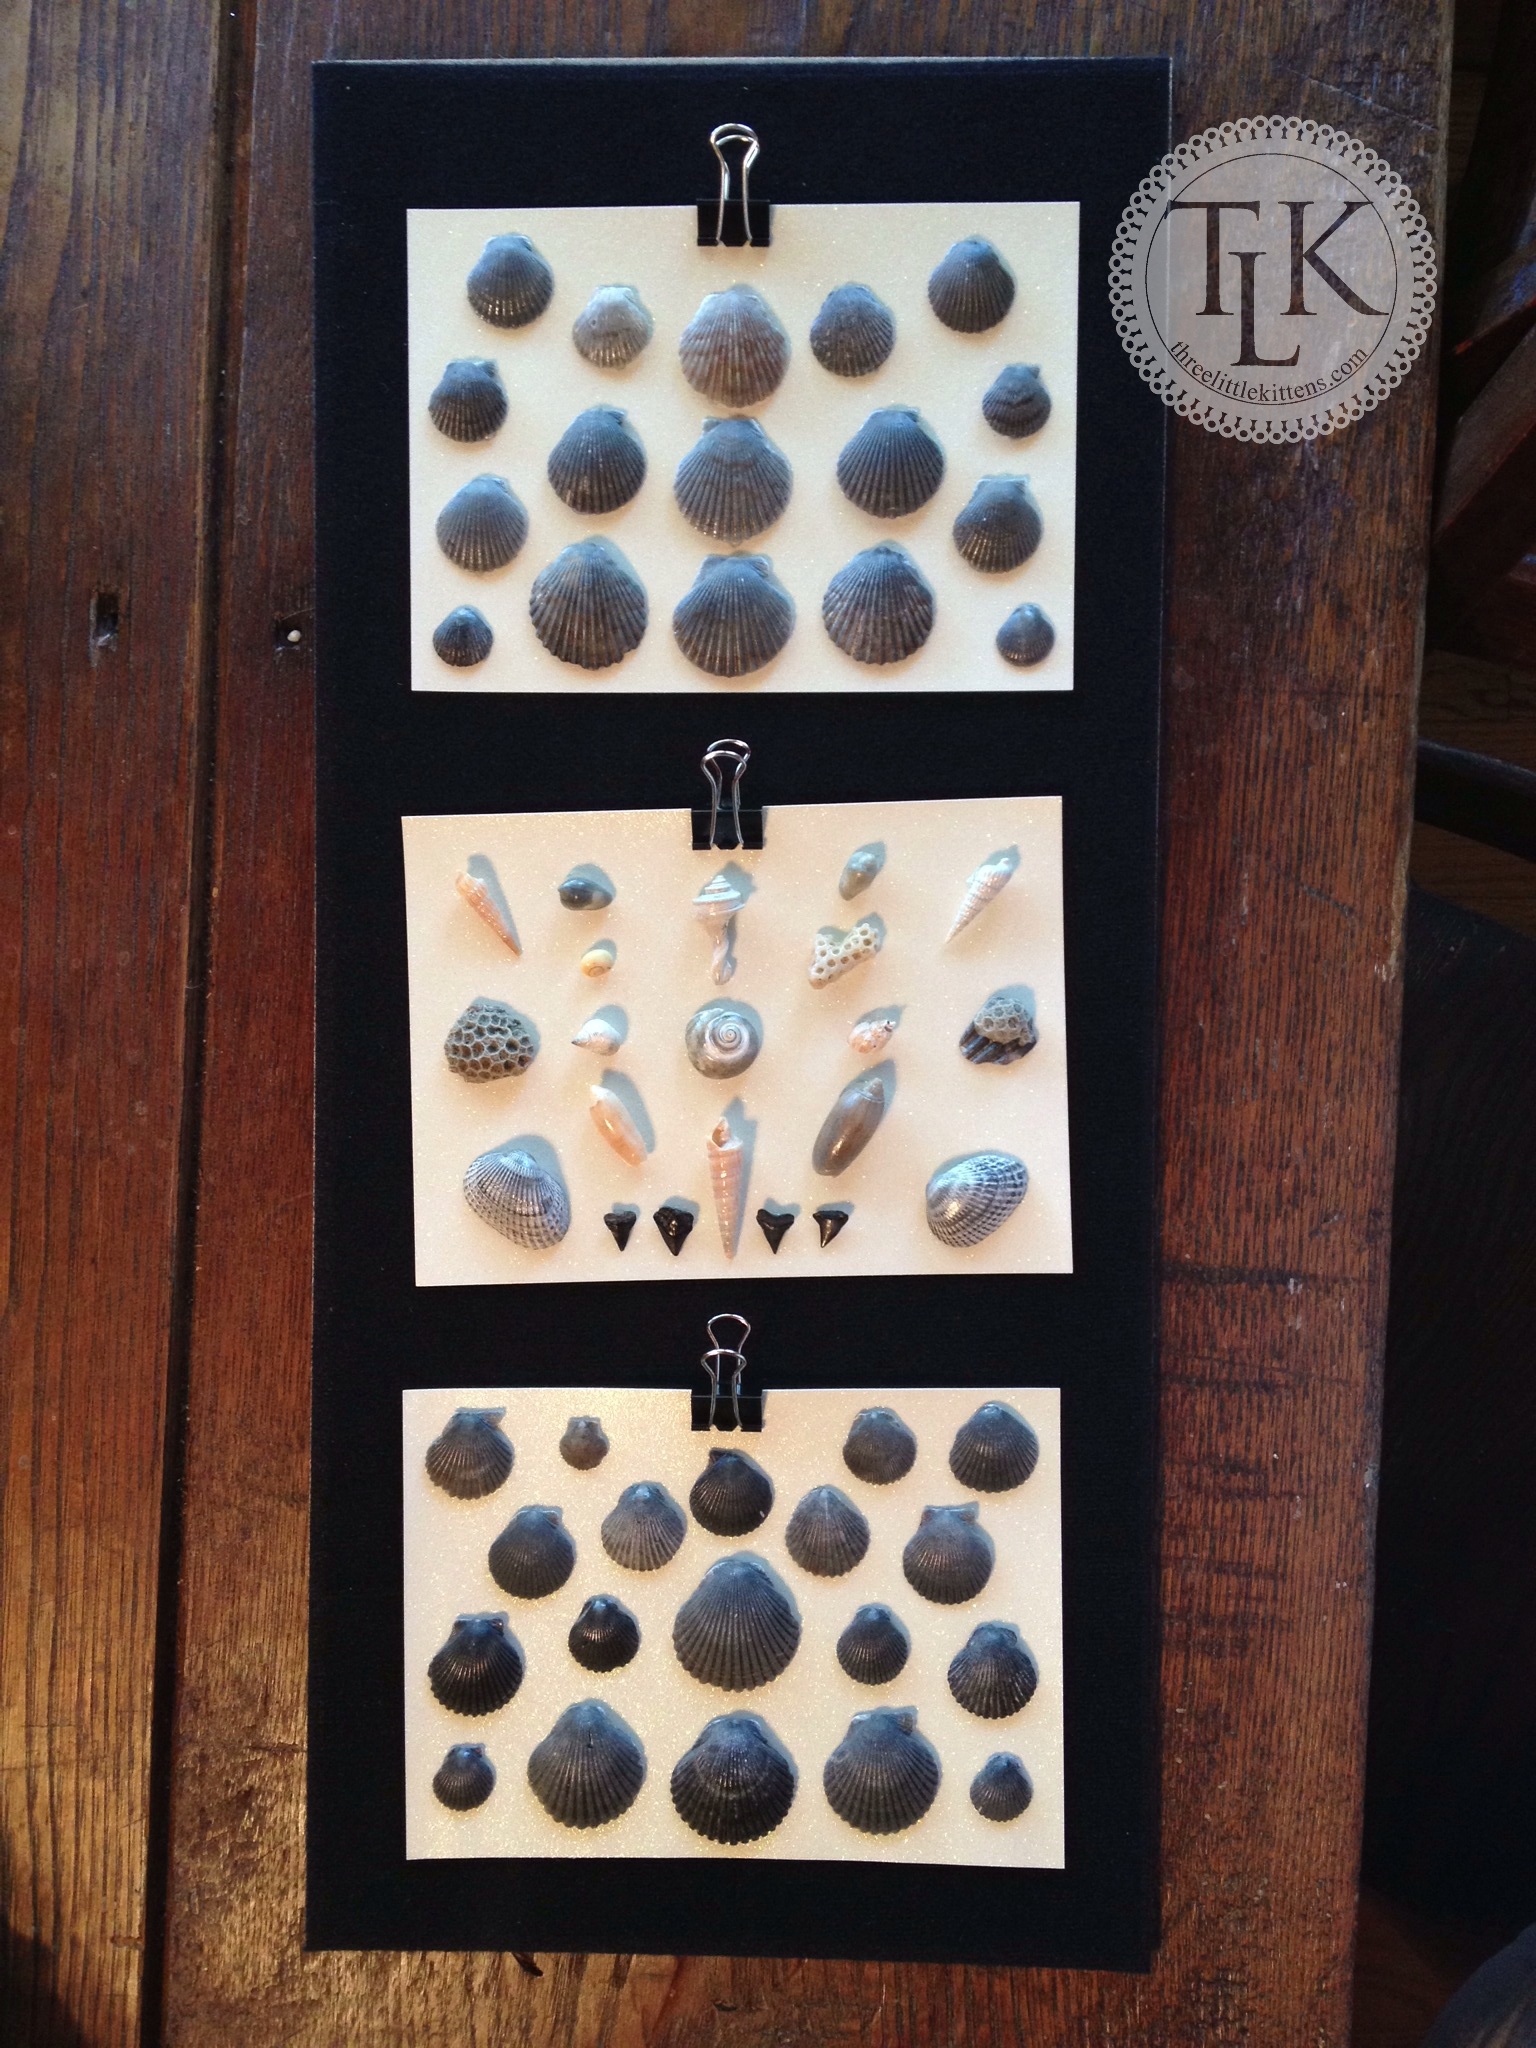
Here you can see the layout before it goes into the shadowbox frame. It’s still not totally straight, but the placement is what I wanted and I really do like how the middle card with the different seashells breaks up the monotony of the black scallops. It would work with three cards of scallops, I just like the change.
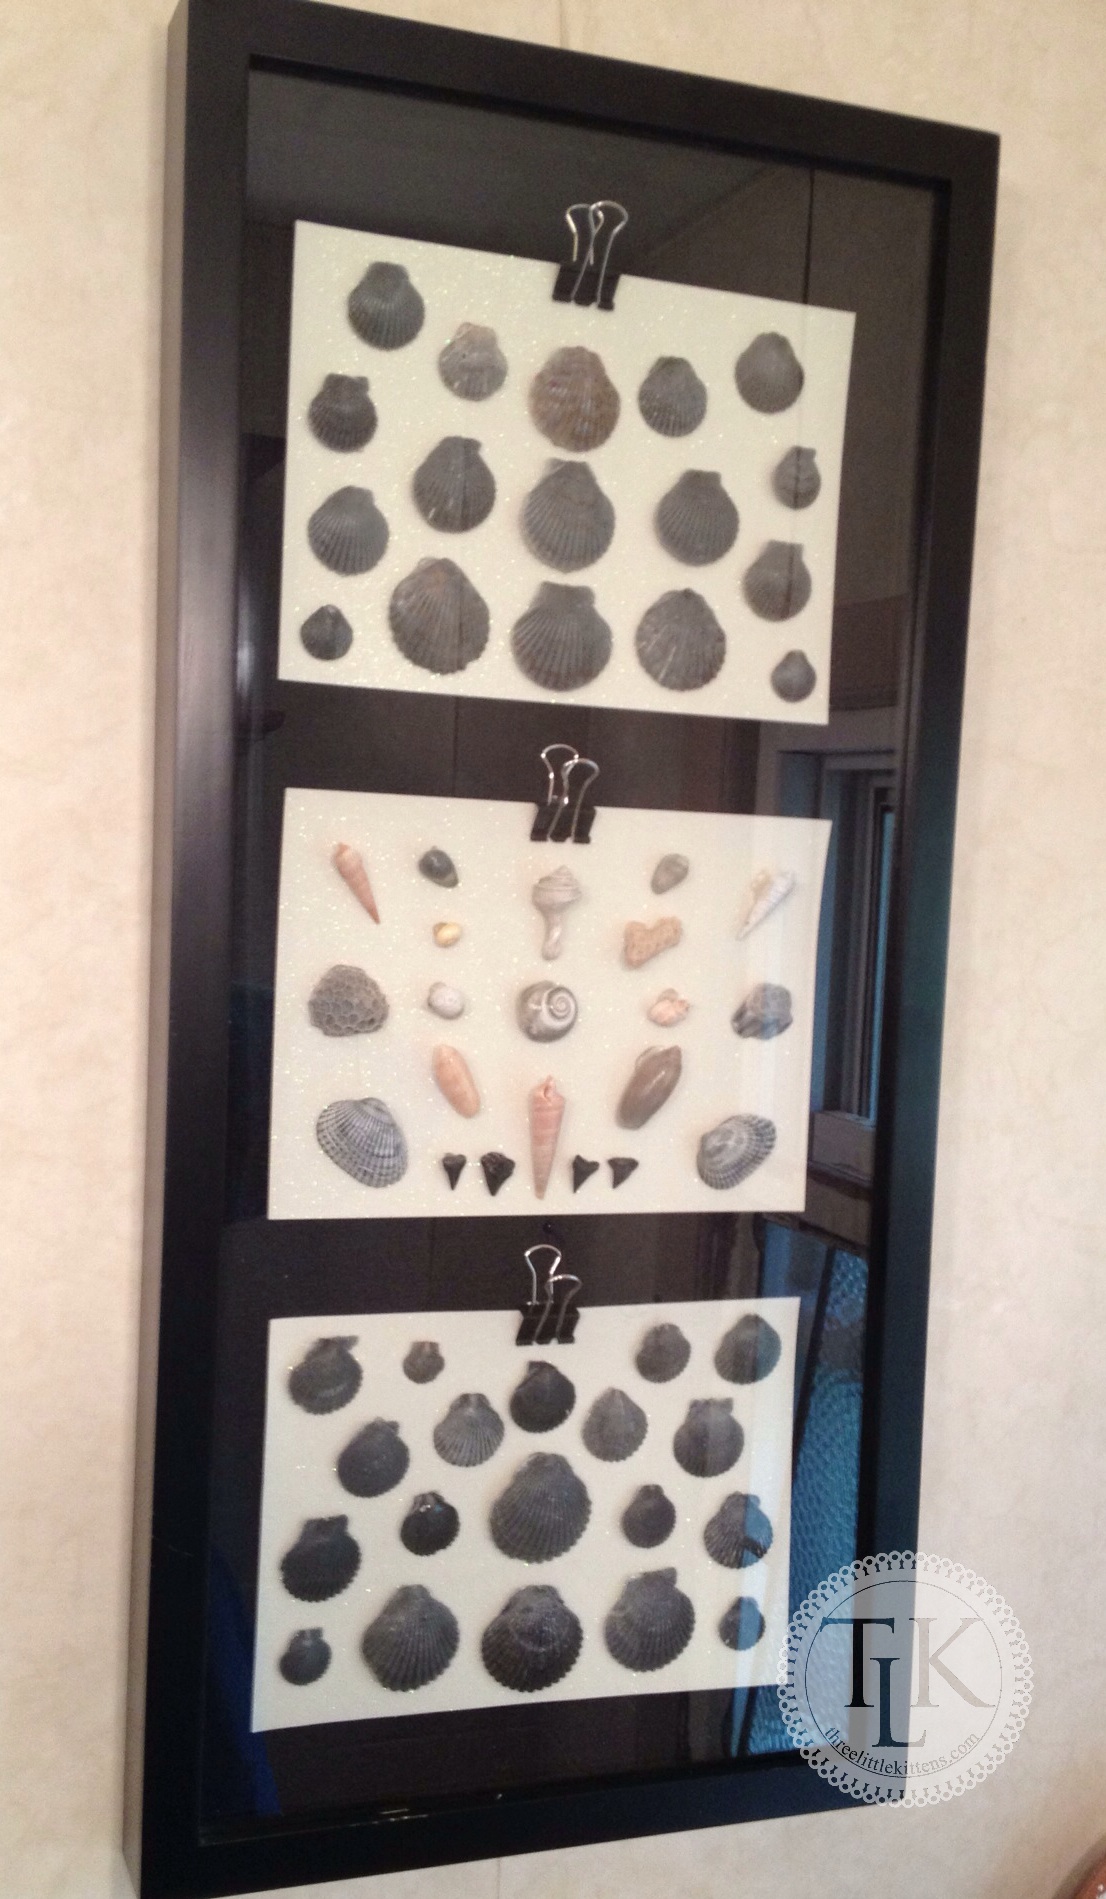
Again, it was hard to get a good picture in our bathroom where we hung this due to the small size and lack of good lighting. We have our Seashell Vases in there along with past year’s seashell mosaics and a shadowbox of shark teeth that Keith collects each year. And yes, we did add a few little teeth to the middle section of the shadowbox…we just could not resist.
So, there you have it. A simple way to preserve memories of shell collecting from a favorite trip to the beach. How do you display seashells from your beach vacations?
Leave a Reply