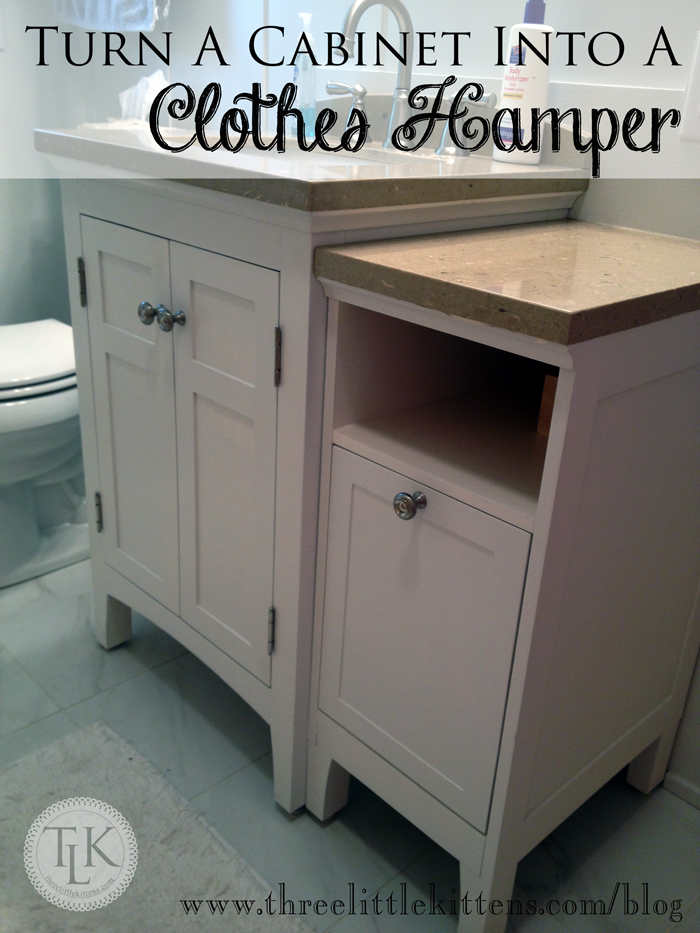
It’s been a while since I posted an update about out bathroom remodel. Well, we are still remodeling. We are just at a break right now. We have the toilet and the sink complete, we are just waiting on the tub to be re-glazed and tiled and those are big projects that involve lots of work. Thank goodness for our contractor David! But I do want to share a cool project that I did this weekend with you. I turned part of the bathroom vanity into a hamper.
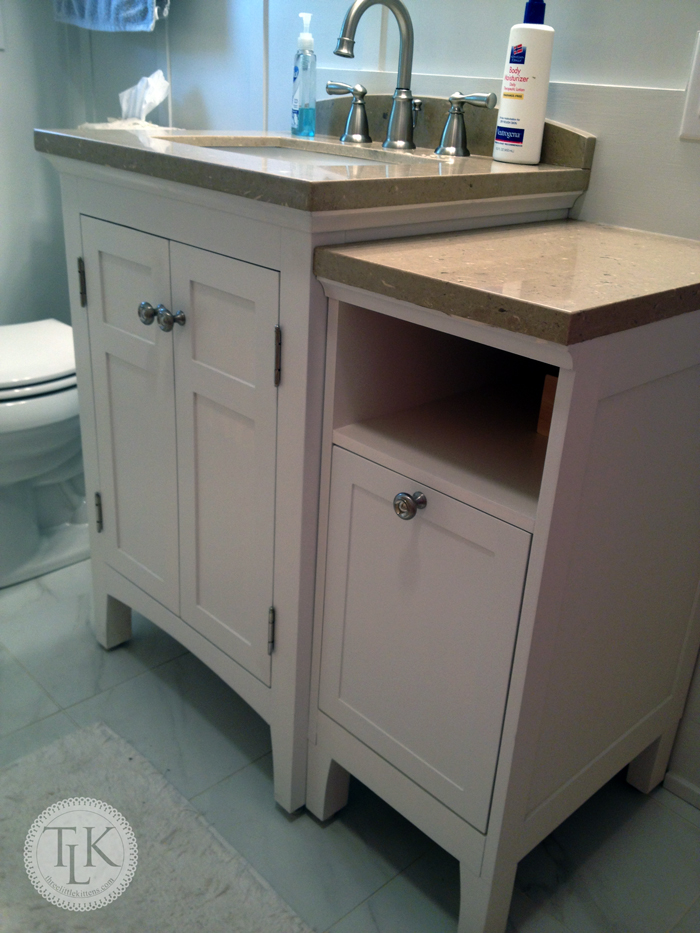
You see, this was part of my plan from the beginning of the remodel. We have a tiny bathroom and the footprint could not be enlarged, but there were several ways to make the space have more storage and be more functional. In our old bathroom arrangement, we had a tiny vanity and next to it we kept a hamper for our whites. My idea was to enlarge the vanity and add the hamper into the cabinet base. We were already using the space, why not just hide the hamper and get a little extra counter space at the same time? And, because we are on a budget, when David said he thought this vanity and drawer bank from Lowe’s would fit the bill and save us some cash, we said yeah! Do your thing! And no, unfortunately for us, this is NOT a sponsored post. These are just the items we used and we are not being reimbursed in any way, shape or form for our choices and opinions.
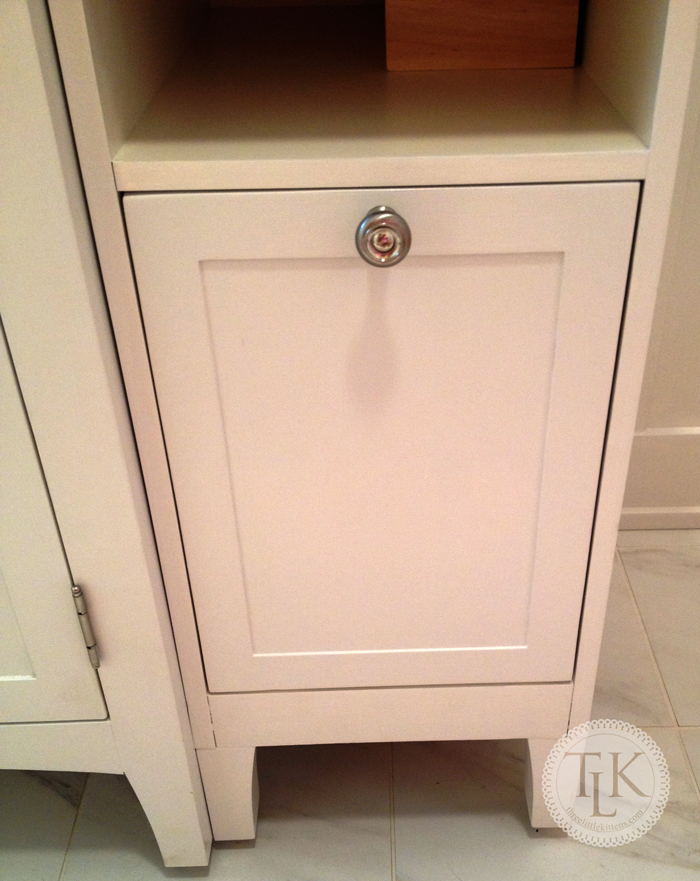
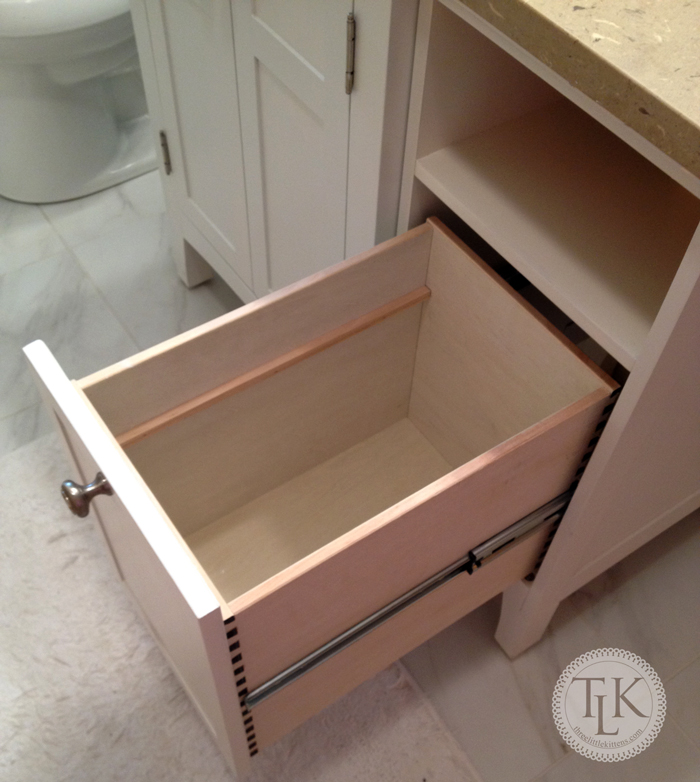
This is the front of the drawer bank. The drawer slides out and there is a little shelf space above. I am currently looking for a basket to fit that space. But now, back to the drawer, aka, soon to be clothes hamper. And forgive the grainy pictures, I used my phone to take them. I already had the sewing machine out along with some other big messes and didn’t try to set up the tripod and Big Camera. I hope to do that when all is said and done.
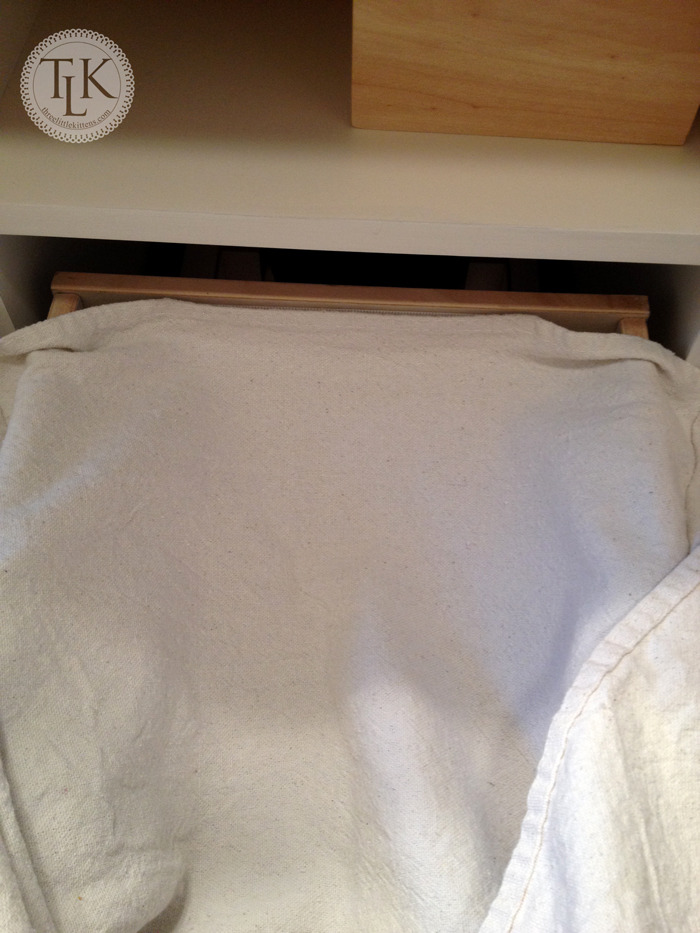
So here is the space for the hamper. I am sure some of you are saying “Wow, that’s a small space for a hamper” and technically it is. But in our family it is just Keith and me and the cats, and this will be just for our white clothes. And if you ever have had to deal with the load of pink clothes that used to be white, you know why it is a must to keep them separated. So, for us, this space will work. I do laundry once a week and even if we went two weeks without washing whites, we still would be ok.
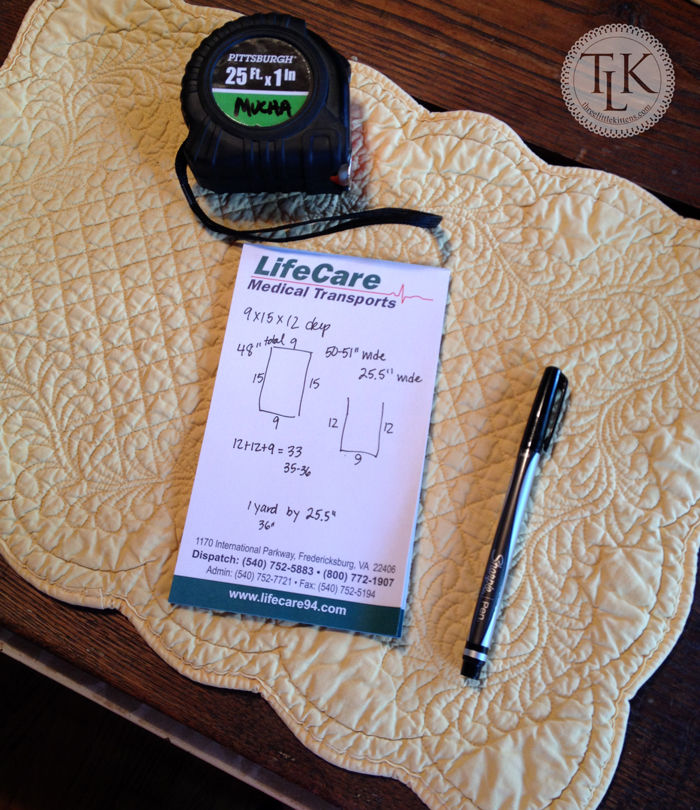
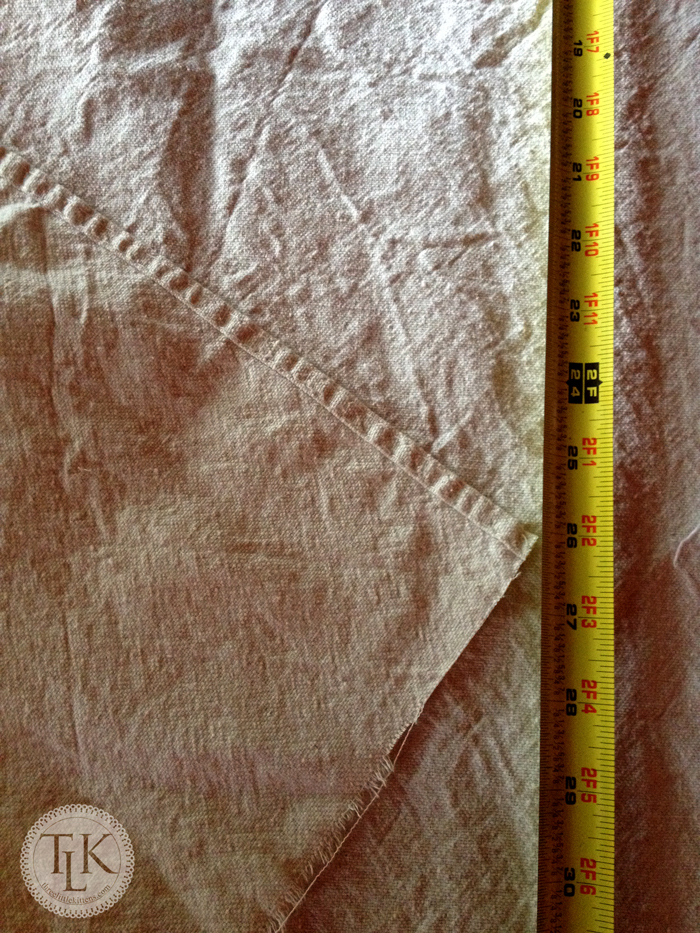
I took some quick measurements. There wasn’t a pattern, this is one of those projects you have to freelance. I knew I wanted the drawer to be lined with a sturdy liner, one made of canvas or something else sturdy that could be washed frequently and not fall apart. And I knew I wanted to make sure that it looked pretty if someone snooped and pulled out the drawer to see what was inside. The dirty socks and undies may be a surprise but at least the liner will be pretty darn nice!
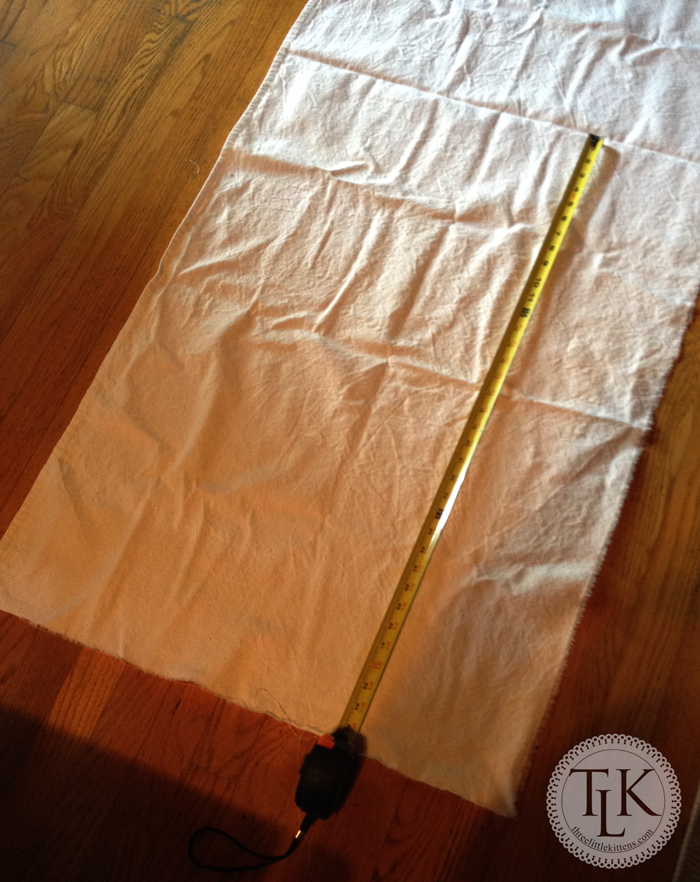
I already had some prewashed canvas drop cloths from my Slipcover project, so I grabbed those first to see if they would work. Now here is where I want to tell you this post is NOT a tutorial on how to sew. I took one semester of Home Ec in the 8th grade and that is pretty much all the sewing instruction that I had. I am sure some of you professional sewers (those that know what you are doing) will probably faint when you see how I put this all together. The idea behind this post is merely to show you my solution to a problem that I had (minimal counter space and ugly clothes hamper out in public view) and hopefully inspire others to think outside the box. Or inside the drawer, as in my case.
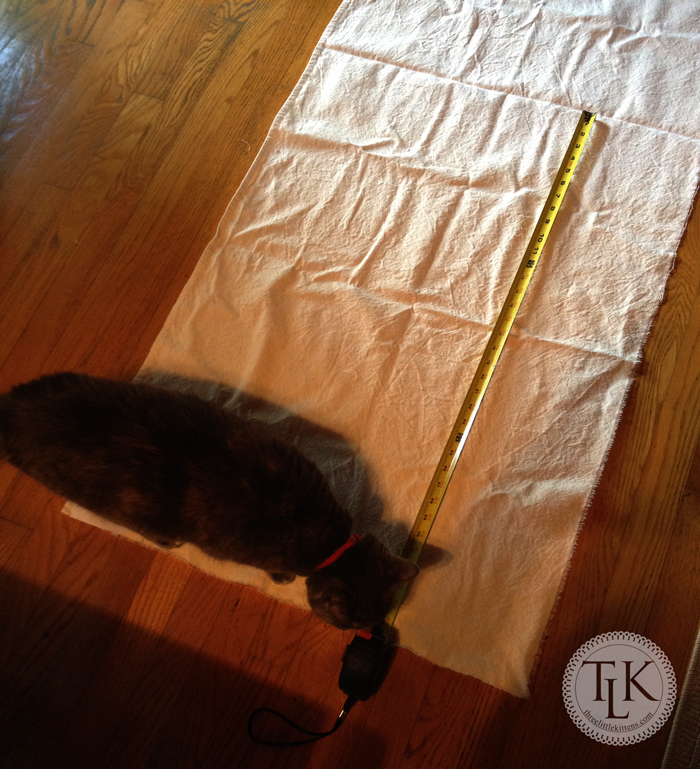
And as with any project, I had a helper.
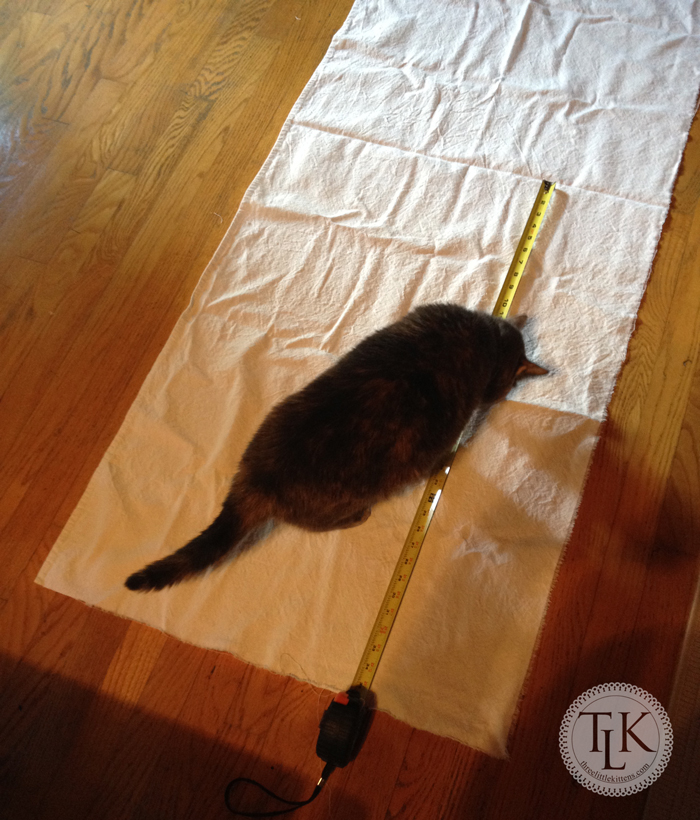
In fact, Dixie had so much fun playing with the measuring tape (yes, I know that’s not what you normally would use when sewing) that I mis-cut my drop cloth. But, it still worked anyway.
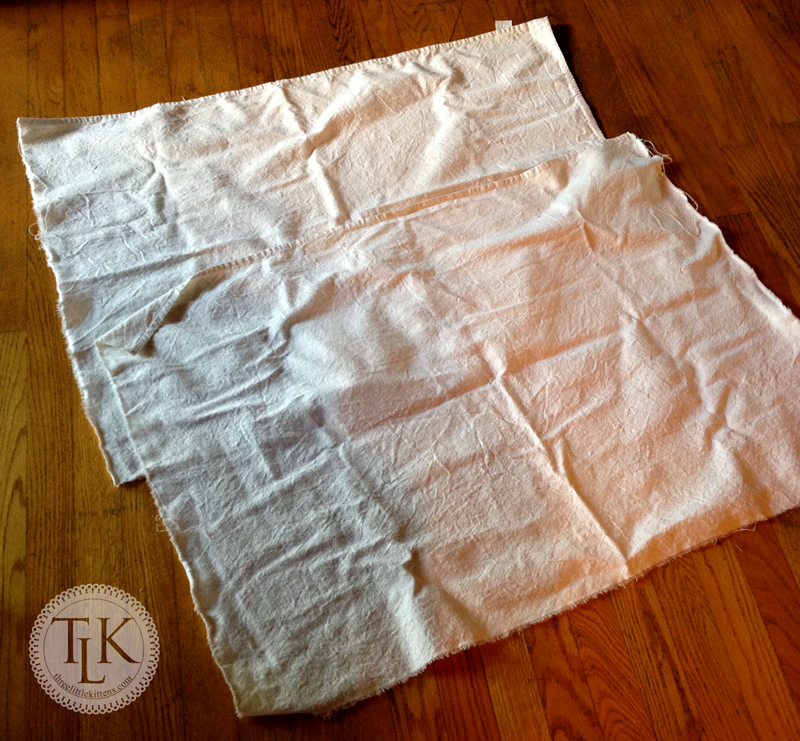
So, I had these leftover scraps of prewashed drop cloths. And I was fortunate that one edge had the prefinished hem in place. Yes! One less thing to sew. If it was not already hemmed, I simply would have hemmed it myself. I wanted to use this hemmed edge for the top of the liner.
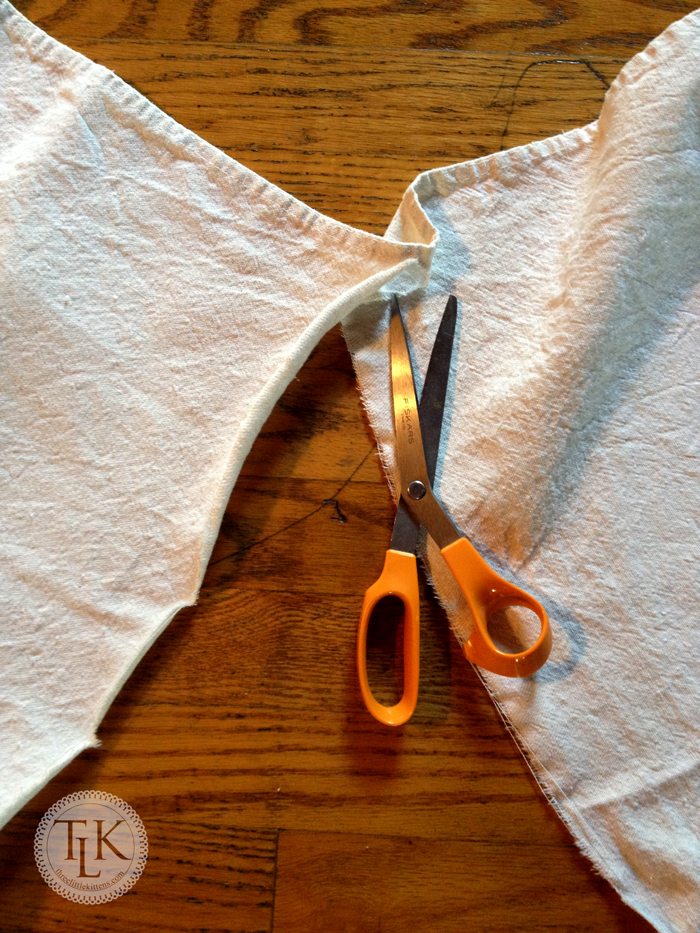
One great thing about drop cloths is that when you need to cut a length off, you simply cut a small snip and rip them apart. They rip in a straight line and since the edges will not be seen, no worries. Easy peasy as they say.
And since my helper distracted me, I ended up having two pieces that I needed to join together now. Still, no problem. This is only going to be a hamper liner and I can put the seams in the back.
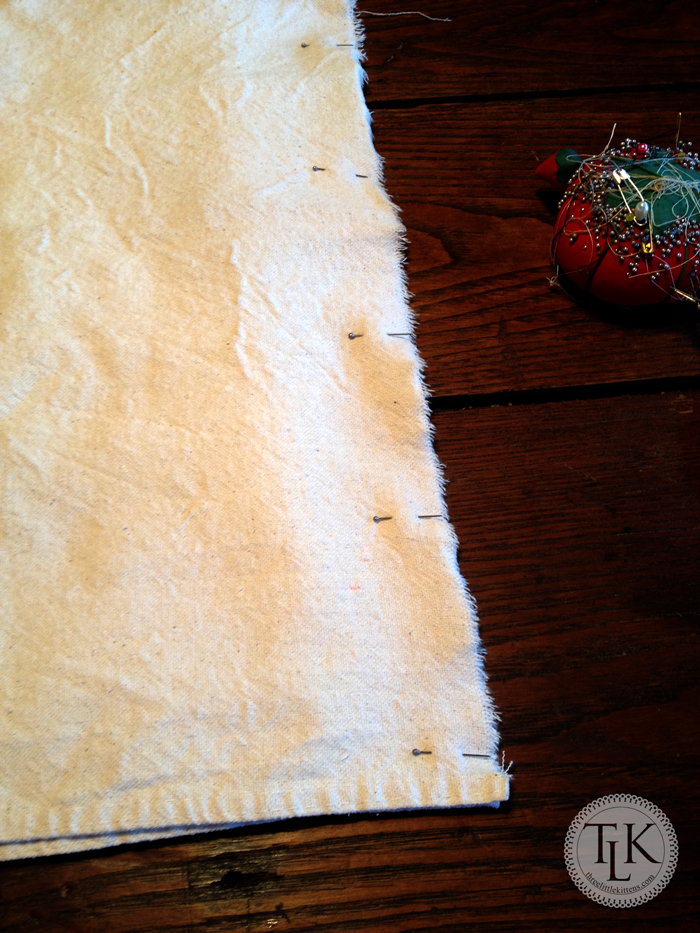
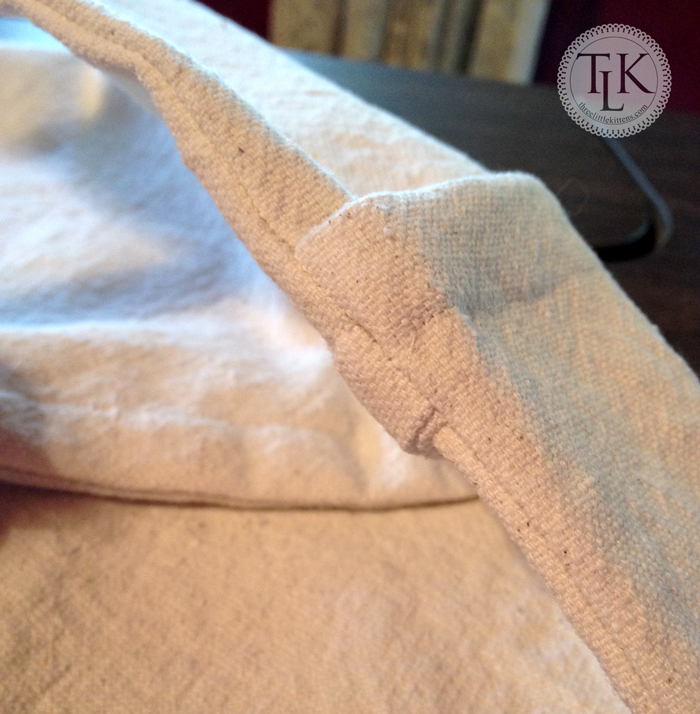
Now, here is where I did want to make this a little more sturdy. I used French Seams when I put this together. French Seams are double seams where you sew your first seam with wrong sides together and then flip your fabric to right sides together and sew a slightly wider seam, completely concealing the raw edge of the first seam. So, since I had my two pieces to join, I pinned my edges together with wrong sides together first. You can see the pre hemmed border above showing the wrong sides together and the finished sides to the outside.
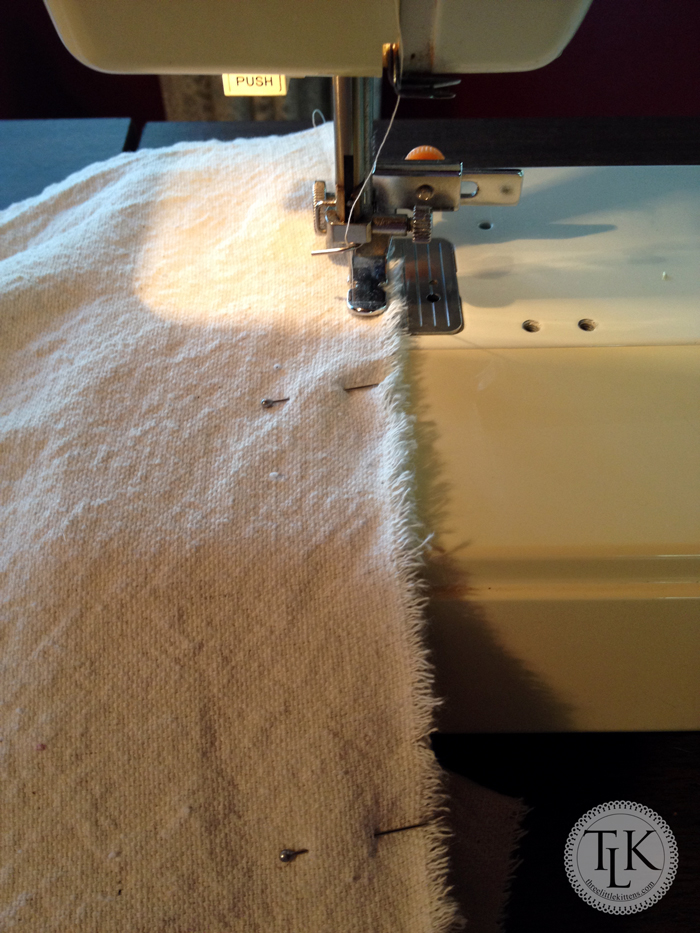
When you sew that first seam, you want it to be as narrow as possible. And yes, this is the foot I used when sewing my liner. I just happen to like this one better for some reason and again, let me repeat, I am not a master seamstress. I am sure my 8th grade teacher Mrs. Markham would have to sit down right now and take a whiff of something strong. But, remember, when you sew the next seam, you want to make sure that it is wider and totally envelopes this raw edge so that no raw edges are exposed when you are finished. And for this project, that is key. Anyone that has ever worked with drop cloths knows how stringy they can become. And since this will be washed a lot, I want it to hold up over time.
Ok, here you can see the first part of the seam is done.
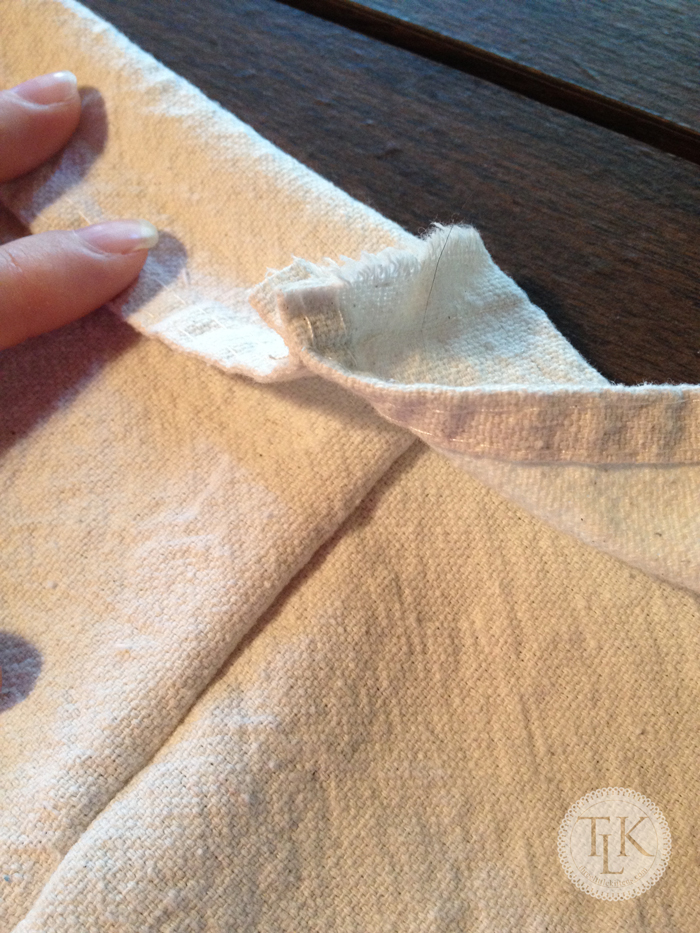
Now, I am simply going to flip my fabric and re-pin the second part of the seam. And in case it looks like the hem is backwards, it is not. Remember, this is a liner going inside a drawer, so I want the nice finished edge of the hem to be on the inside. This side will be velcroed to the inside and will not be seen.
Now I sew the second part of the seam. Notice the difference in the position of the fabric. This is a wider seam to ensure that all of the raw edges will be secured.
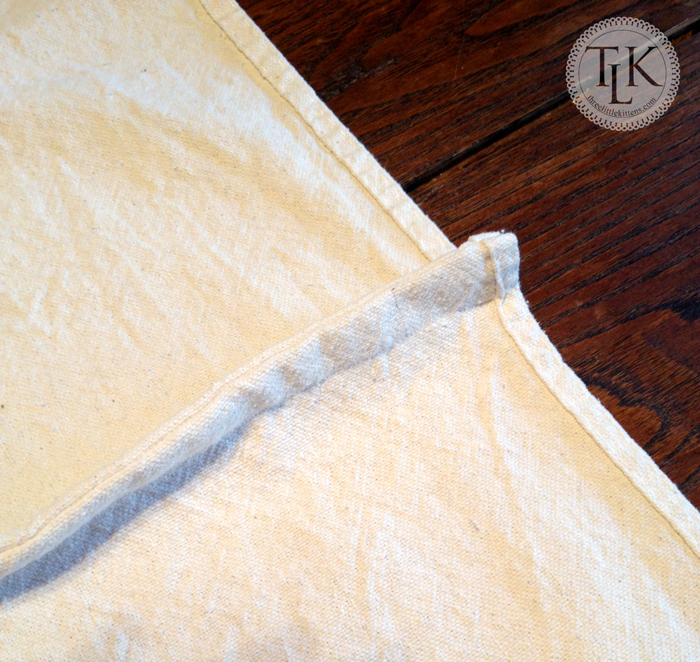
And here is the finished French Seam. This seam will also be on the velcroed side of the cabinet, so it will not be seen. What will be seen will be the smooth side only. And the whole reason for doing the French Seams is to make sure that when this liner is washed for the 100th time it doesn’t fall apart.
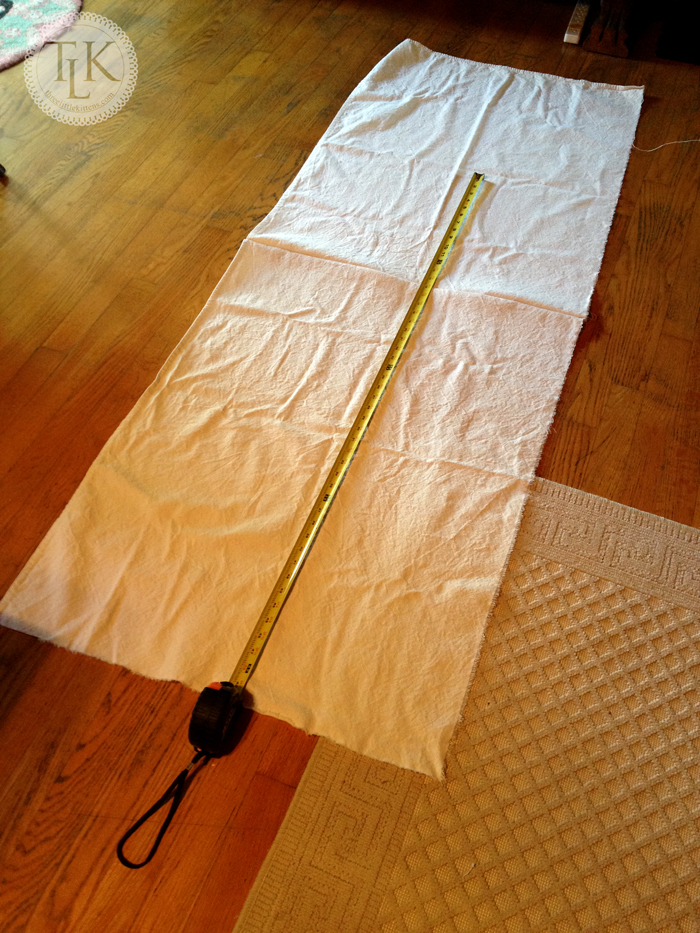
Now I have to just measure where I need to make my next rip (without my helper this time) and then sew up that edge with the other raw edge to make a tube. If I hadn’t made the measuring mistake earlier, this step would not be necessary. But it is good that it happened, because sometimes you may need to piece together fabric to get what you need. Remember, we are on a budget and this project really isn’t costing anything since I am using leftovers form a previous project.
After my tube is all sewn together I do take the opportunity to take one last fitting. Oh, I did double check the fit when I was pinning before sewing. It will fit, so now it’s time to sew up the bottom.
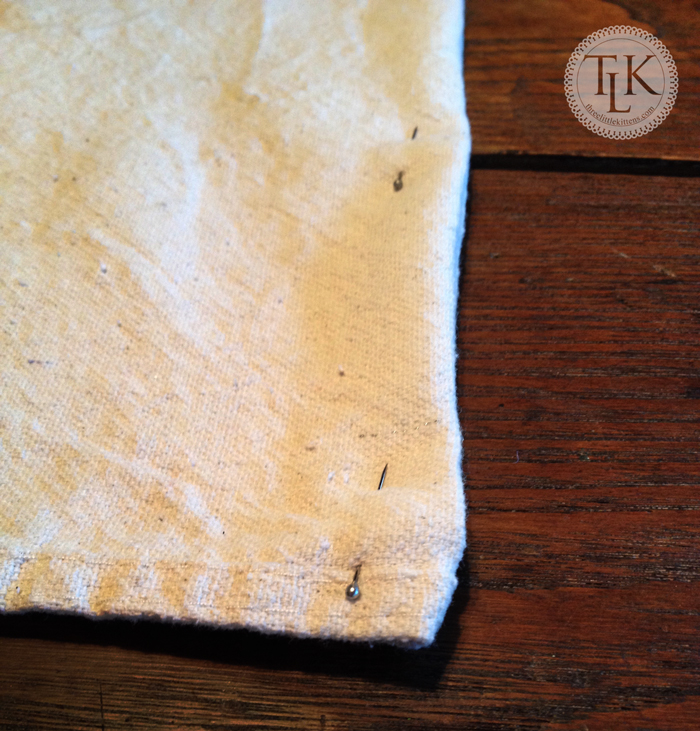
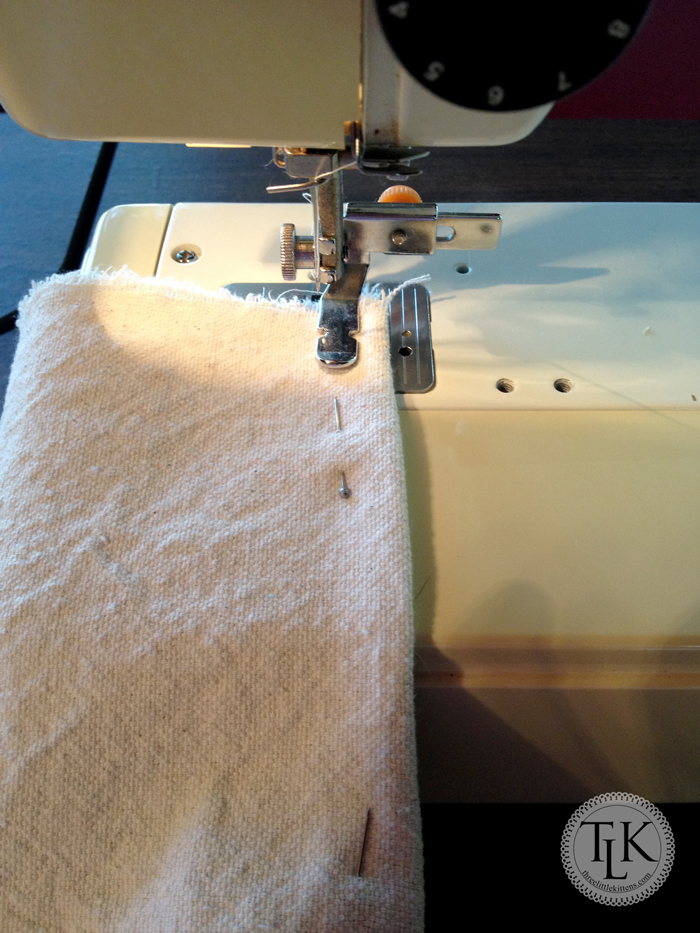
Now, since I have an additional seam, I want to make sure that I position my seams so that the bulk doesn’t pose a big problem. The way my seams worked out is that they will both be towards the back side of the drawer. I want to keep them together, so I make sure that I pin them going opposite directions. I do this so that when I sew the bottom French Seam they bulk of the other French Seams doesn’t jam up my sewing machine. And I do this seam the same way. I pin the wrong sides together first, sew a narrow seam and then flip and pin the right sides together and sew a wider seam.
Here is what I was talking about with the side seams. If you pin them in opposite directions they don’t create such a bulky mess as they would if you pinned them going the same direction. And, this is also the finished French Seam, so now I have a liner.
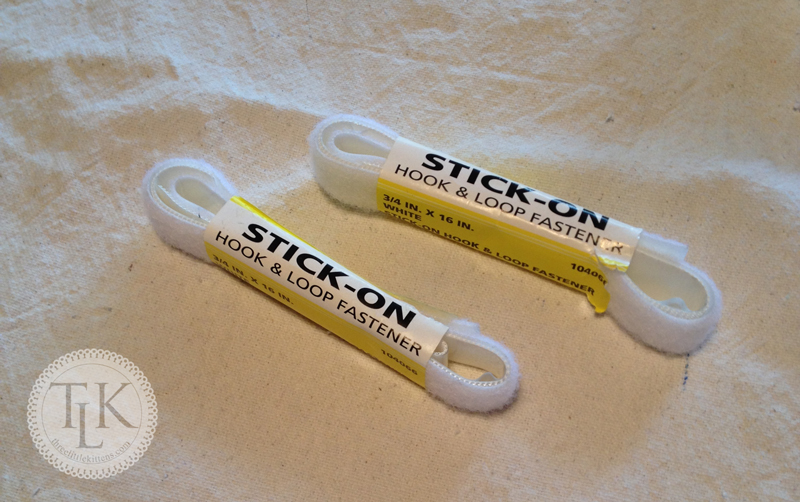
The next step is to add the Velcro. I found these two packs at Walmart in the notions department. I am using the sticky kind, since I will need to stick one side to the inside of the cabinet. The other will stick to the liner and if it comes off after washing I will sew it on then, when the adhesive is gone. If I tried to sew it with the adhesive it would gunk up my needle and machine. Of course, you could always buy the sticky part for half and the sew on part for the other half. This is just what I came across in a pinch and it was only a few bucks.
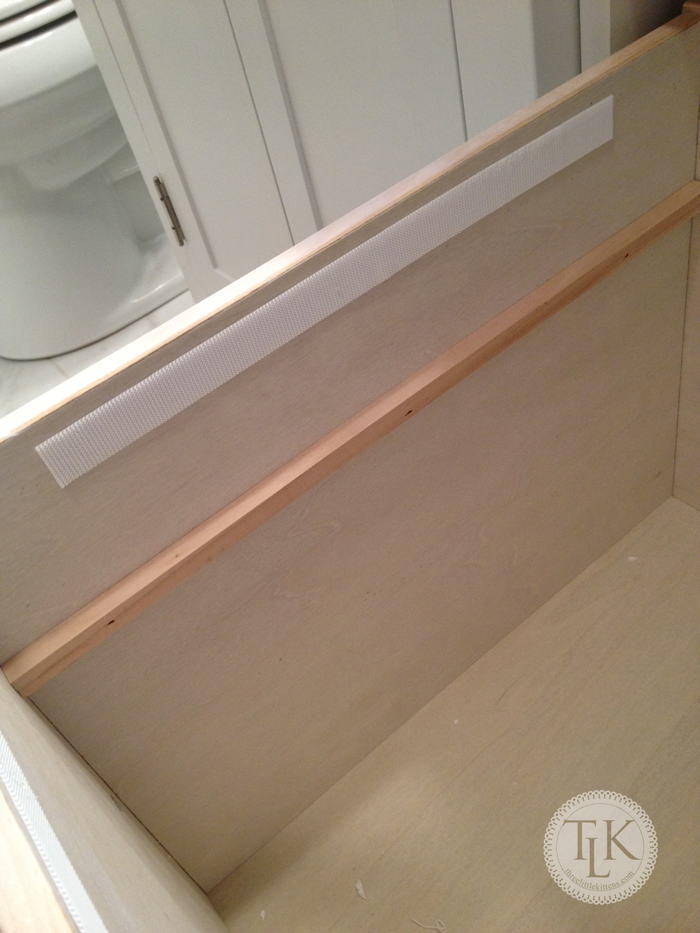
Now you just cut to the desired length and stick the hard plastic side to the inside of your cabinet.
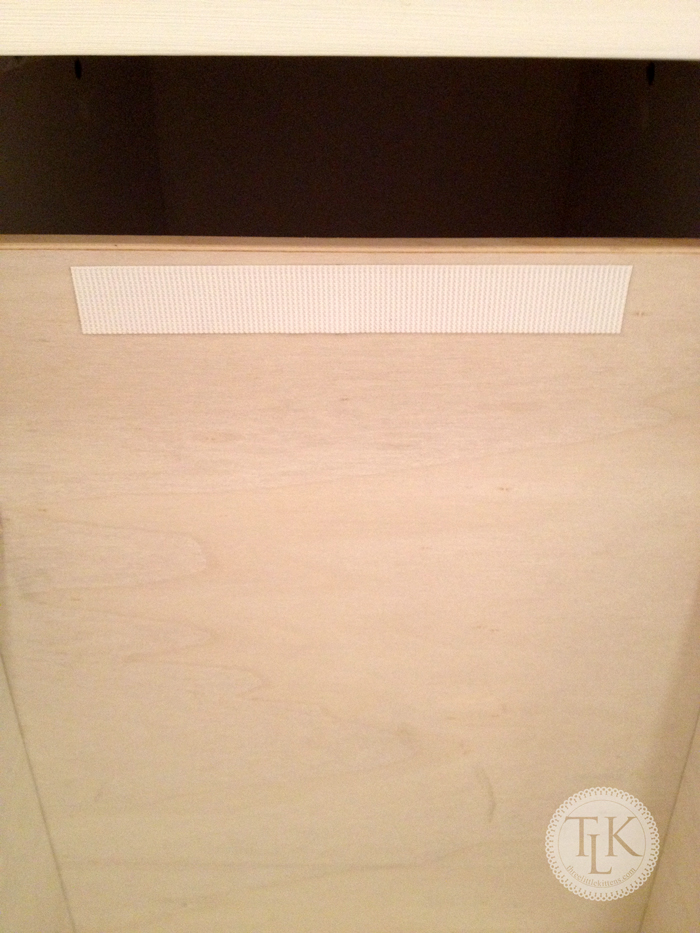
Here is another view.

Then you want to stick the soft side of the other half on to the hard plastic side, leaving the strip of adhesive facing the inside of the cabinet. Do this on all four sides. You want to make sure the liner stays in place when you add your dirty clothes.
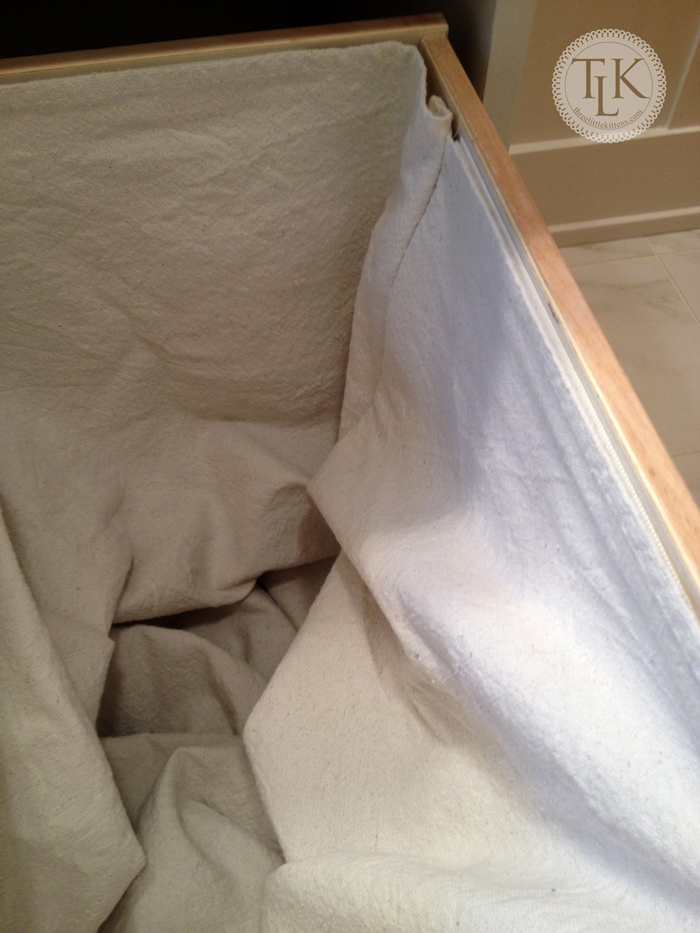
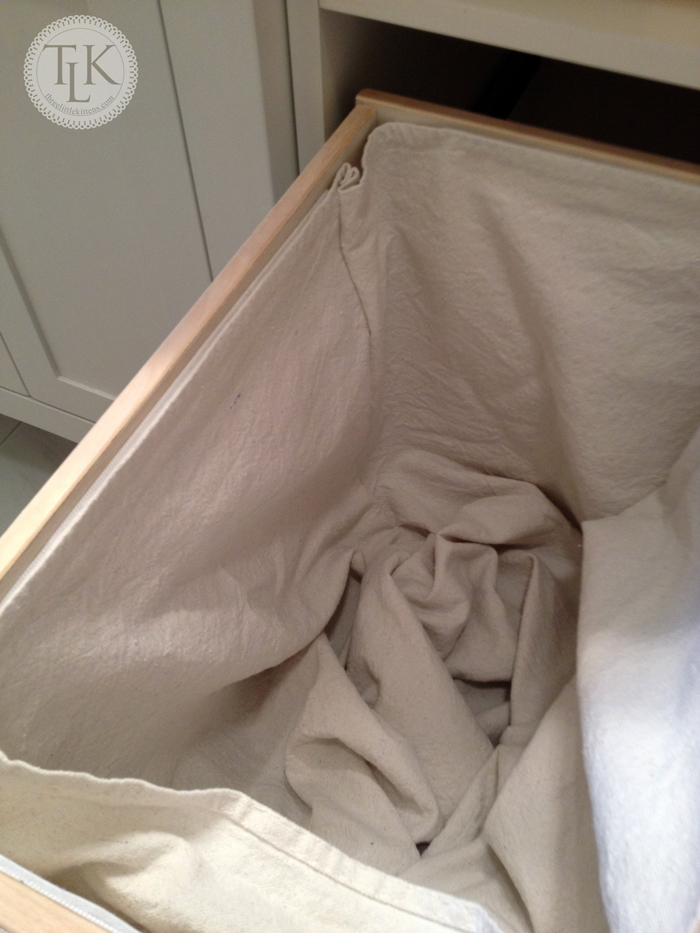
Add the liner now and position where you want it. Remember, I had the extra seam, so I am centering those at the back and I am also making sure that the finished edge of the hem is facing the inside of the drawer. All of my French Seams will be hidden when I am finished.
Starting on one side of your liner, peel off the backing of the adhesive and carefully line up the edge of your liner and press firmly onto the adhesive.
Continue doing this all the way around.
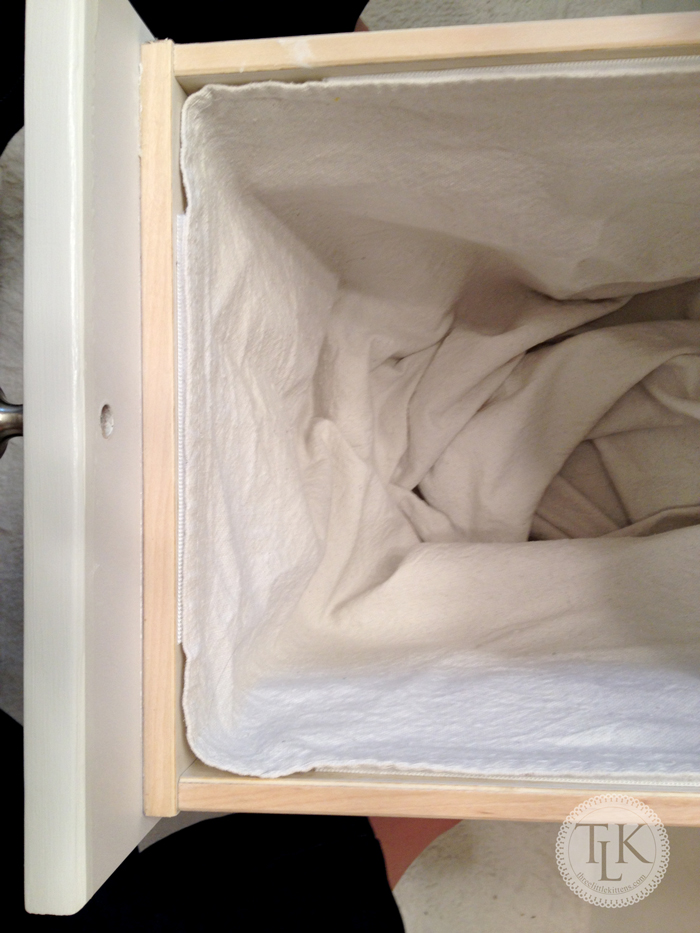
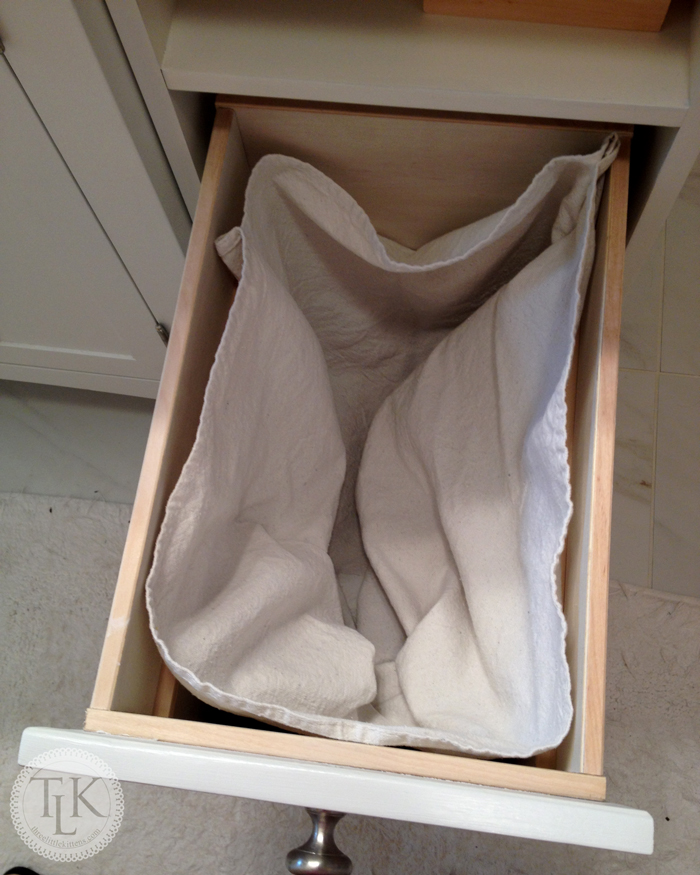
Here you can see how it looks when you look down into the drawer. The liner is velcroed in place. Now, mine has a little extra bulk at the bottom and I may go back and square that out later, but for now I am just ready to start using my new clothes hamper and the bottom will be covered with dirty clothes anyway, so I don’t think it really will matter at this point.
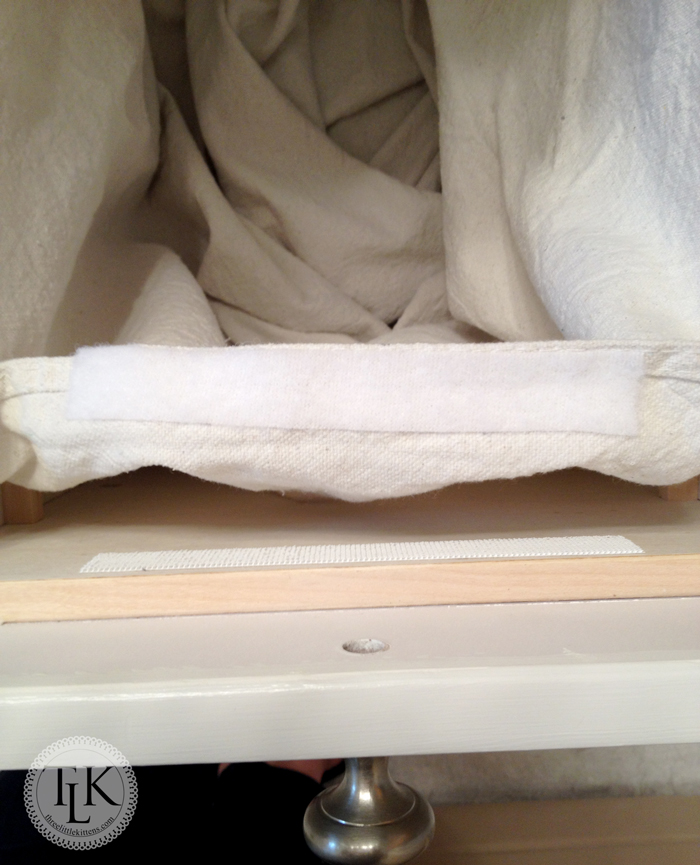
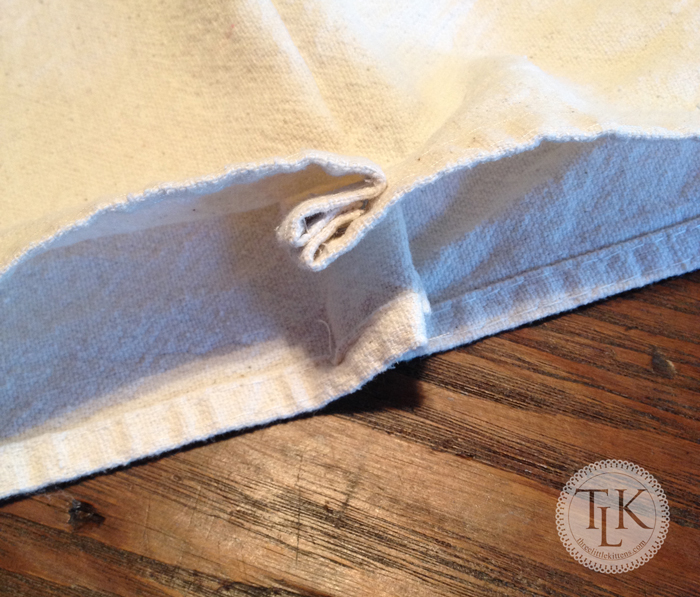
Oh, and here you can see how the soft side of the Velcro stuck to the fabric liner. It really stuck but I will be careful not to just rip it out when I need to remove the liner for washing. If you carefully pull the Velcro strips apart you should not have any issues with the adhesive coming apart from the liner.
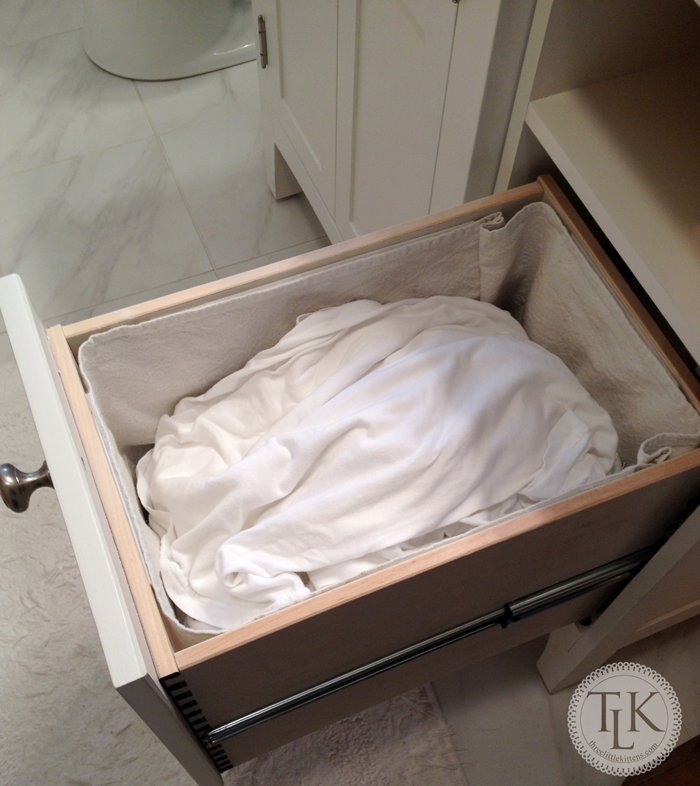
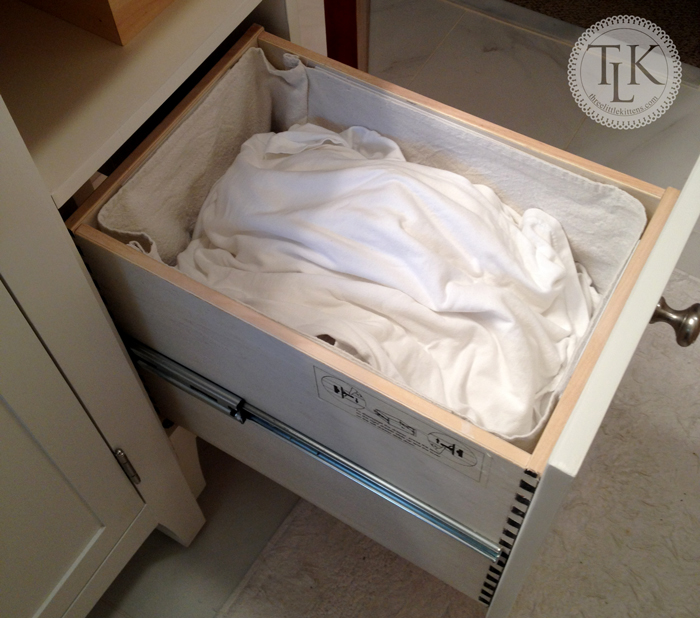
And here you go! My cabinet turned clothes hamper is ready to use.
Oh, you don’t know how happy this makes me. And if I hadn’t shared with you, you would never know that drawer on my vanity cabinet houses our dirty white clothes. It will have to be our dirty little secret. Sorry, but I could not resist!
Very clever…I have the three drawer Norbury vanity with a single side cabinet set-up. While I am not looking to convert my side cabinet into a hamper, I couldn’t help but think that maybe some handles sewn into your liner might make transporting the clothes from the bathroom to the laundry room a bit easier and less cumbersome. Great idea though! I am also currently looking for a small basket for the upper drawer area.
Thanks Kim! Great suggestion!